ThereminGoat
Mar 6, 2026
•5 minutes
Vintage Switch Mods for Modern Mechanical Keyboards
Discover creative DIY switch mods from the early keyboard hobby days. Learn dyeing, Copre mods, and O-ring techniques for your modern switches.
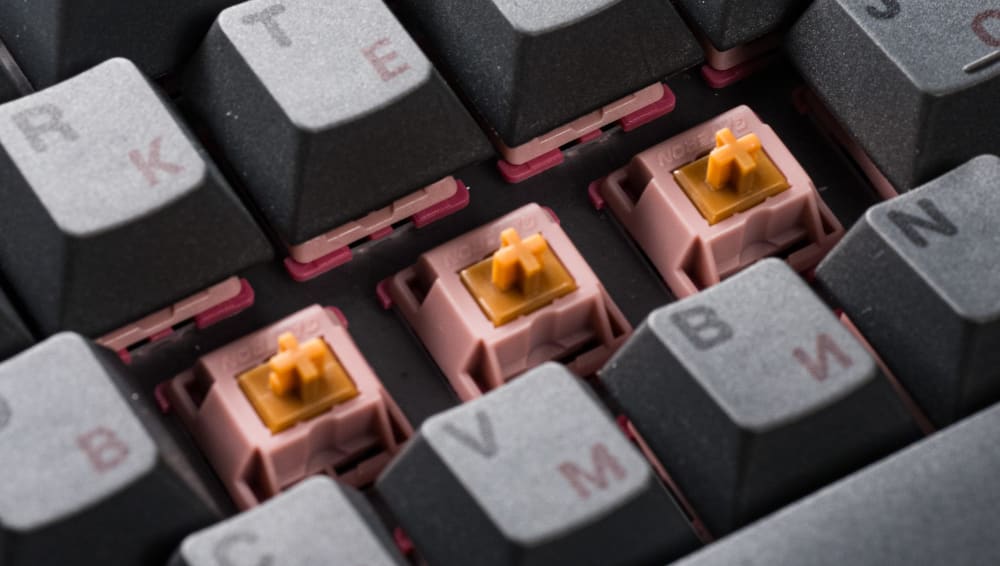
Gateron Mountain Top Switches Installed on Keyboard
As of the time of writing this article towards the start of 2026, one thing is for certain – the mechanical keyboard hobby has contracted quite a bit from its peak days spanning 2020-2022. During the pandemic years virtually every store was sold out entirely, and vendors like Kinetic Labs couldn't keep keyboard, keycaps, or even switches coming in fast enough to stay in stock. Though as we've moved on from the pandemic in recent years, it seems that not everyone is as interested in mechanical keyboards as before. Those that remain in the hobby to this day or are finding it anew in 2026 are more like those enthusiasts from before the pandemic – interested in the long haul, here for the customization, and not afraid to get their hands dirty in tinkering with their keyboards. In some respects, it reminds me a lot of the earliest days when I joined the hobby where people's ingenuity and creative attempts to alter their builds were prized above just spending a ton of cash on something. In honor of that scrappy, DIY nature that I see us returning back to as a community, let's dust off some of the first switch modifications that I ever saw and consider applying them to some modern switches again. The best part is that you could do all of these things with switches that Kinetic Labs is selling today!
Dyeing Switches
Original Gateron Milky Rit Dye experiment from a 2016 Geekhack post
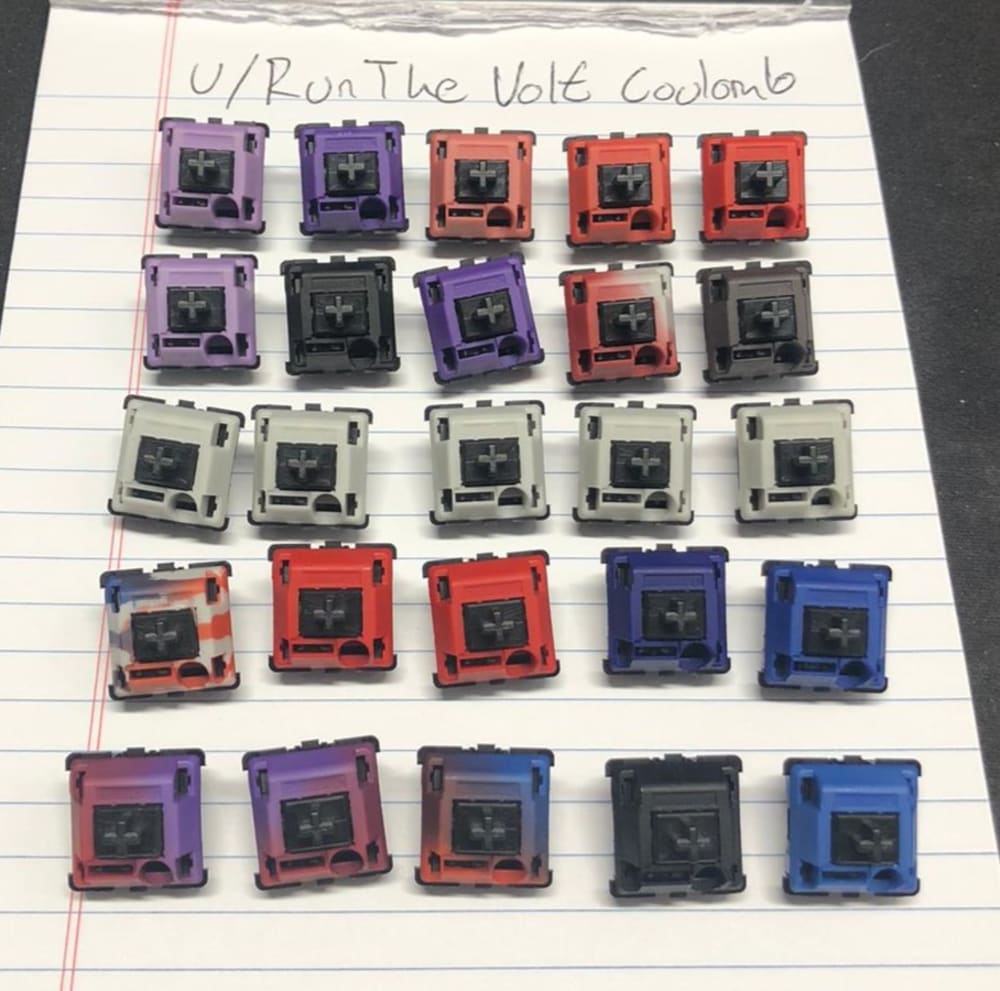
For those of you who weren't around for the old days of modern switches, until about 2018 you were extremely limited on the colors of switches that you could pick from. Classic colors like black, white, milky-translucent, and clear housings were really all you could get, with the only splashes of color coming from the stems of their respective switches. And with everyone in the community always interested in pushing the aesthetics of all of their components, some early hobbyists realized that they could dye their OEM-colored switches to really anything that they could fancy. Seriously, by just buying a plastic dye like Rit or Jacquard iDye from any large grocery store and following the instructions on the bottle, you too could dye or tint switches a color that you'd otherwise be unable to get. For example, maybe you've always wanted bright blue tops to your Kinetic Labs Turtle switches but didn't want to buy a whole different set just to do a frankenswitch mod. That's possible here. What about dark, moody translucent black Gateron Milky Pro switches that have just a tiny bit of keyboard RGB shine-through? Totally doable too. Some of the earliest and most prolific switch dyers were even able to manage putting specific patterns onto their switches and making an incredible array of offerings like the MX Locks shown below.
Dyed MX Locks with various patterns and gradients
"Copre" Mod
Cop car keyboard used for Copre mod
People who are fans of the classic Topre brand keyboards and their snappy, rubber dome feedback will tell you that it's simply not possible to get true MX-style switches that feel similarly. If you're willing to get a little bit scrappy and do what is known as the "Copre" switch mod, though, you can prove them wrong with any MX switch of your choosing. The first and nominally relevant step of this mod is to find a purchase an old, used cop car keyboard like the one shown above in order to harvest the spill-proof mats that sit underneath their keycaps. When you remove that mat, cut out squares for each individual key, and then carefully trim the top edge of the lip to be a bit shorter, what you'll have created is a snappy, pseudo-Topre style dome that can replace the springs in your MX switches. In order to turn any switch into their Topre style equivalents, simply remove the spring out of the switch, put it into your keyboard, put the Copre dome over top of the switch, and then put a keycap on the stem. While it may seem like this won't work because the stem is just sitting in the bottom of the switch housing without a spring, the upward force of the spill proof mat 'dome' will actually hold the combined stem and keycap up until you press them down.
Picture of a single, harvested Copre Dome
O-Rings for Sound Modification
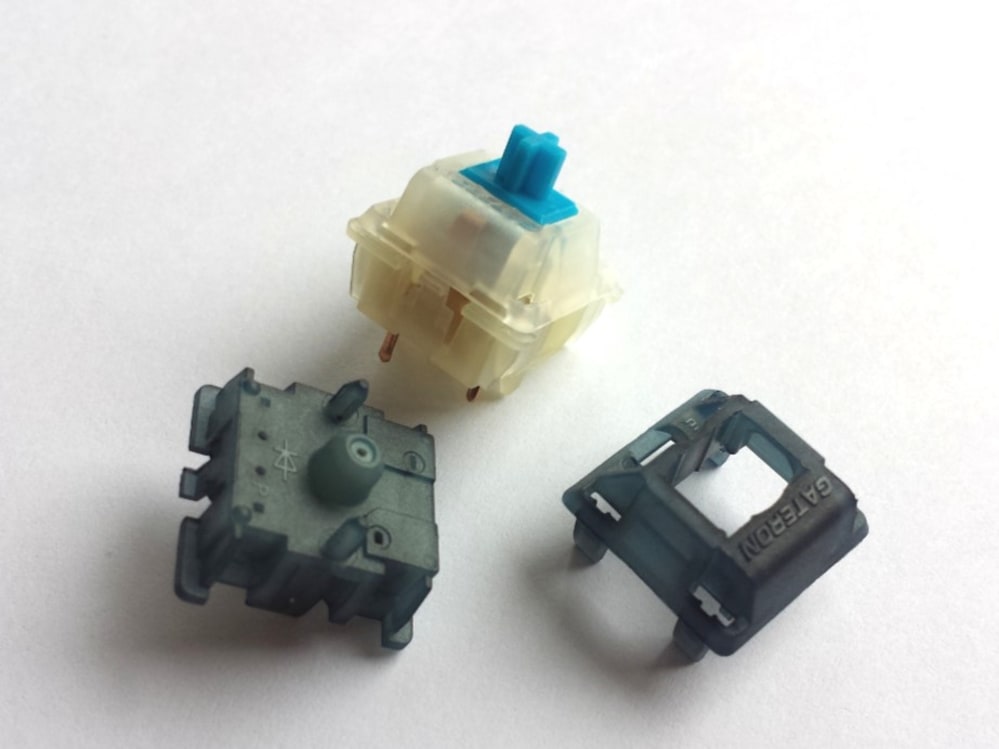
Going as far back as 2010, when the original keyboard scene first started in Korea, there has been a long history of people trying to modify their switches in order to change, dampen, or altogether eliminate the sounds of their switches. Back in the days where "silent switches" were few and far in between, as well as quite bad at being silent, users would resort to leveraging squishy rubber O-Rings in all manner of ways to achieve these goals. And yes, they still can work on Kinetic Labs switches from today, too. Consider picking up a pack of O-Rings from Kinetic Labs today in order to try any of the following:
- Cutting up some O-Rings into tiny pieces and wedging them behind the click leaves of Gateron Melodics. (This is actually how the incredibly popular 'Gateron Lanes' tactiles were first prototyped at home!)
- Again take small bits of O-Rings and place them underneath or around the clickbars of clickies such as Kailh Box White V2s. This will cause their sound to dampen as well as their tactile feedback to feel different too.
- Wedge O-Ring pieces in between the stem and click leaves of classic Cherry MX Blues to make uniquely squishy feeling light tactile switches.
- If all else fails, use the O-Rings as originally intended and place them around your switch stems for the keycaps to sit on. While this is the least consistent of these dampening methods, people were doing this to their switches well over a decade ago to give new, unique feelings.
While this list of modifications may not be everyone's cup of tea, I can feel the spark of creativity inside a few of you to want to try these ideas out. And why wouldn't you want to given that they're a fairly inexpensive way to make truly unique switches? Whether you want to explore the outer limits of modern mechanical keyboard switches or just want to feel more connected to your own build, I can't recommend trying these enough. However, I won't fault the rest of you for just wanting to stick to the more basic, tried-and-true mods like lubing and filming switches. Luckily for you, I also have some articles here on Kinetic Labs you should check out about those, like '5 Essential Tips for Lubing Mechanical Keyboard Switches' and 'Tools to Mod Your Mechanical Keyboard Switches'!