Adeana
Dec 31, 2022
•9 minutes
Lubing Tactile Keyboard Switches
Lubing tactile mechanical keyboard switches is an important step to smoothen and dampen your switches for a better sounding keyboard with tactile switches.
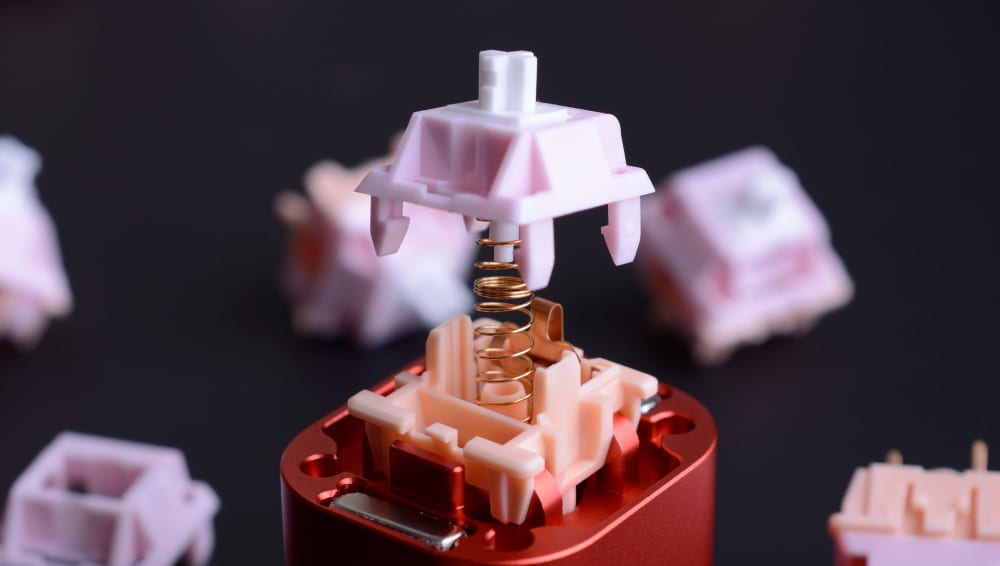
Salmon Tactile Switch opened
Tactile mechanical switches have a reputation, a bit like linear mechanical switches which are said to be for gamers, tactile switches are said to be for typists. While it might be the trend, it definitely is not my preference—I’m much more of a typist than a gamer and I love a medium weight linear mechanical switch, but I might be an oddity. What is true is that enjoying a tactile mechanical switch is mostly about enjoying the feel of the tactile bump.
Just like linear mechanical switches, you can nowadays find factory pre-lubed tactile switches, even though the most renowned switches will often come dry in their stock form. The questions are, should you lube your tactile switches? And how should you lube them?
A lot of people will tell you that lubing tactile switches is risky because it can reduce their tactile bump. But tactile switches can also suffer from scratchiness, leaf ping, and spring crunchiness. I believe you should lube your tactile mechanical switches and I will share my process with you.
As for how to lube tactile switches, it is as most things in the world of mechanical keyboards, a matter of preference. In this instance, it might be more about how much you should lube your tactile switches. My way of lubing tactile switches is not the only way, and I encourage you to try different things to find out what you like best.
Let’s get into the tools I use, my mindset, and my method to lube tactile switches. If you prefer a video, check out this useful video below:
Let’s get into the tools I like to use, my mindset and my process for lubing linear mechanical switches.
Lubing Tools
Some of the tools below are indispensable but I built this list of tools over time. You can leave some things out and substitute them for what you like. Starting out, I did not have all the tools I use now.
- A 2-in-1 switch opener.
- The Gateron "Nutcracker" switch opener.
- 4x containers for switch parts—I sometimes use glass candle jars or Kinetic Labs switch containers.
- Krytox 205g0 switch lube.
- Tribosys 3203
- A flat 9mm brush—specifically the Army Painter Wargamer: Small Drybrush. You can easily substitute it for a 0 size brush.
- A size 00 brush
- A lube palette.
- Vertrel XF Solvent—A Krytox solvent to clean my brushes.
- Krytox 105 oil.
- A small plastic container for lubing springs.
- A stem holder.
- 2x ceramic precision tweezers.
- A lube station—specifically the Monstargear lube station. Kinetic Labs also has a good lube station from Kelowna.
- Switch films if my switches need them.
- Springs if I am swapping them.
Lubing Tools
You can find almost all these tools at Kinetic Labs, and the films as well, everything you need really. The most important thing when lubing switches is to respect safety around lubricants—wash your hands, don’t touch your eyes, don’t put any in your mouth. That and maintaining your brushes so the bristles keep their integrity.
My Mindset for Lubing Tactile Switches:
To find the method I am about to share with you, I asked a handful of experienced keyboard builders about their preferences, I took the things I knew from lubing linear mechanical switches, and I experimented on a few tactile switches. My experiment consisted mostly of trying different lubes like Krytox 205G0, Tribosys 3204, and Tribosys 3203, as well as how much lube to apply, and what parts of the switch to apply which lube to.
After trying a good twenty variations and combinations of lubes, amounts, and parts lubed on Kinetic Labs Penguin tactile switches I ended up joining along other enthusiast keyboard builders in the dual-lubing method. I did bring to lubing tactile switches most of the same method for lubing linear switches, aside for where I apply which lube and in what quantity.
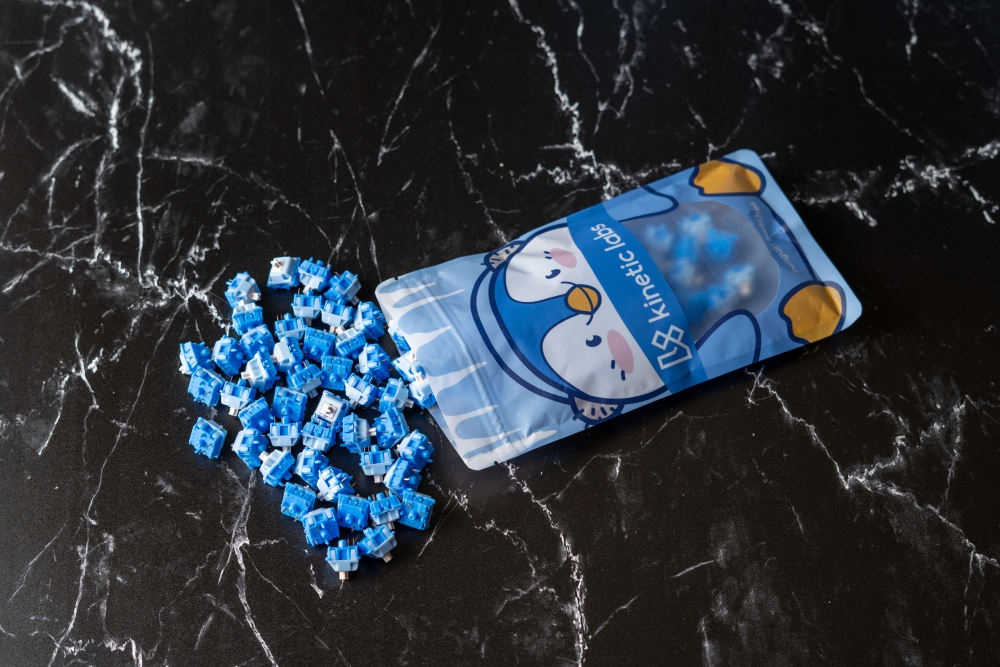
Penguin Tactile Switches
Just like when lubing linear switches, I prefer an even, consistent, all-around-the-switch lube job. As I use two different lubes, I apply a different thickness of lube for each lube. I like a medium coat application of Krytox 205G0 and a light coat of Tribosys 3203.
But why use two lubes? Mostly because of their sound signatures. Tribosys 3203 is a thinner, higher pitch sounding lube, and while it is much better to preserve the tactility of the mechanical switch, I enjoy the sound and feel of Krytox 205G0 a lot more.
The idea is to only apply Tribosys 3203 on the leaf and the front legs of the stem to disrupt the tactility of the switch as little as possible, and I use Krytox 205G0 everywhere else I would usually lube a linear switch.
A note on spring swapping: I don’t like to swap springs in tactile switches. There isn’t much spring crunch that cannot be fixed with an application of Krytox 105 oil. However springs aren’t all made equal and spring weight, complexity, spacing, and more can completely change the tactility of your switch. I recommend you choose your tactile switch with a spring weight that you usually enjoy and the intent to use the switch with its original features.
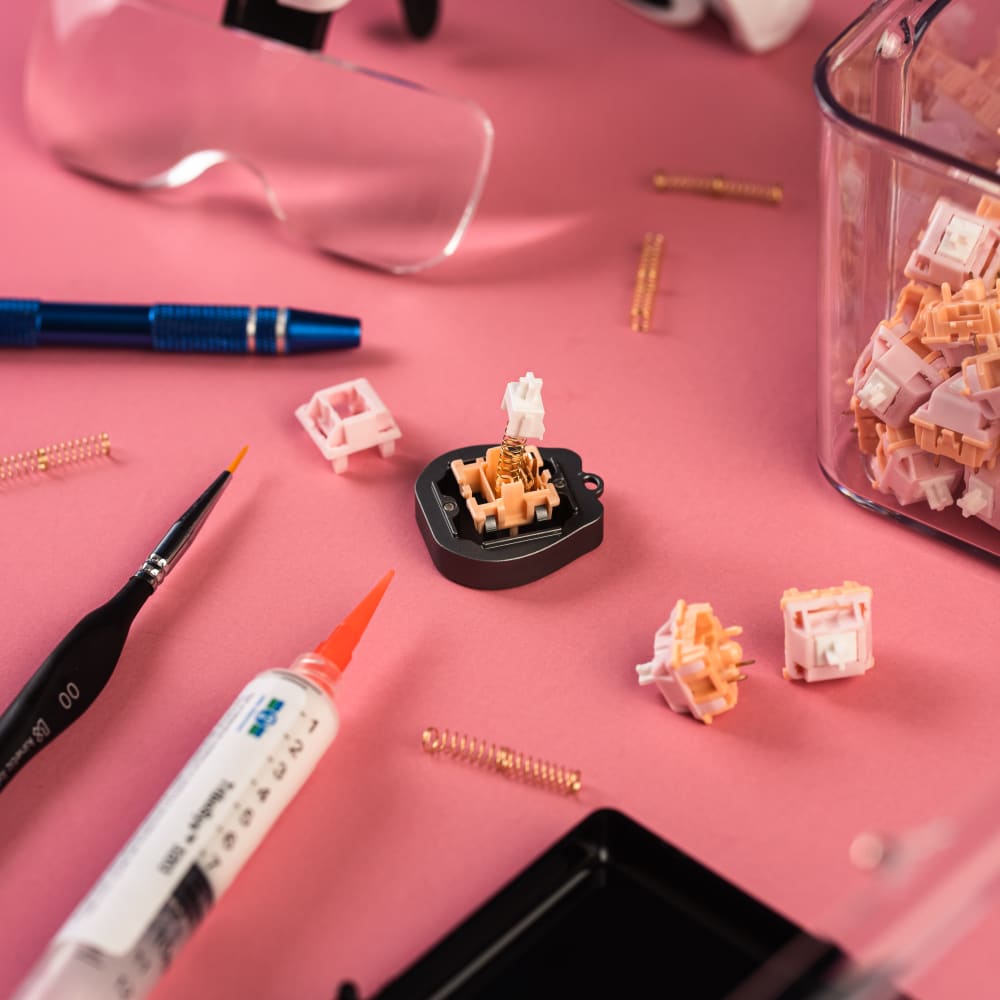
My Lubing Technique
As I set up to lube tactile switches, I already have tested a sample of switches stock for housing wobble to determine if I need films or not. I have my tools at the ready and I start by pouring all my tactile switches in a switch container. I use my “Nutcracker” to open all my switches, saving the bottom housings, stems, and top housings in their own switch containers. I also reserve the switch springs directly in my “bag lubing” reusable plastic container.
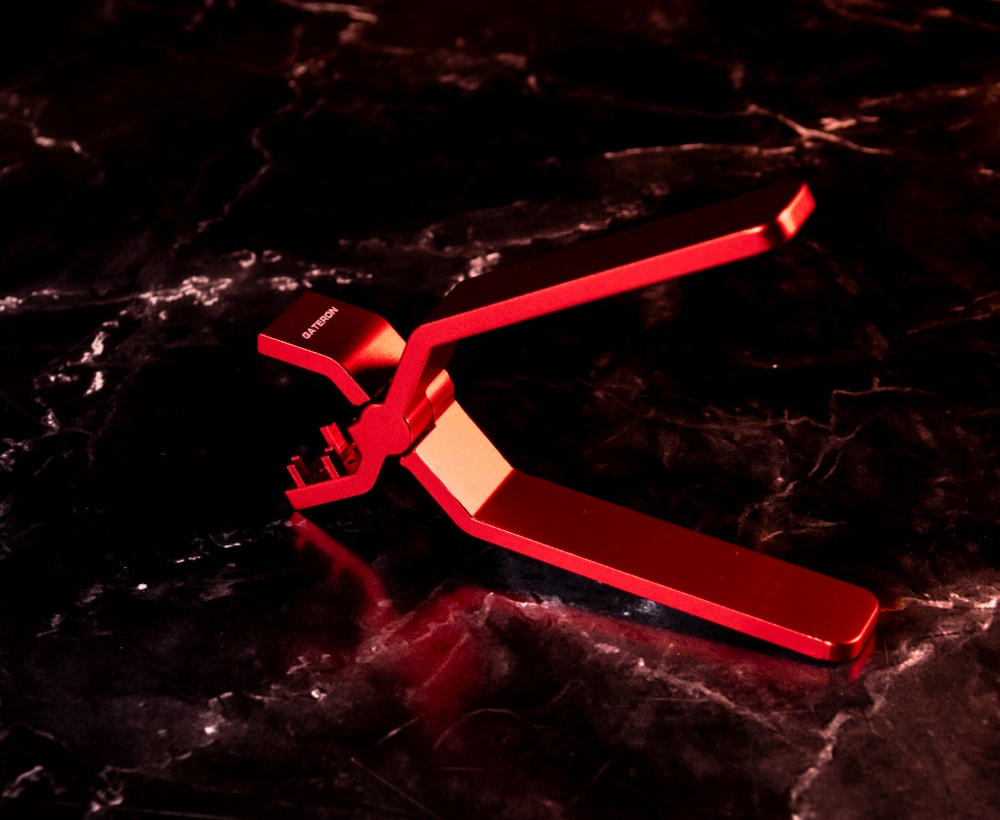
Gateron Nutcracker Switch Opener
I make sure to have both my lube palettes and brushes laid out next to my lube station with a bit of each lube mixed and ready to use. Since I am dual-lubing, I have to make use of both lubes on the bottom housings and the stems. I always start with bottom housings and the application of Krytox 205g0. I dip my flat brush into some lube and dab the excess onto the palette. I want my brush saturated but not white with lube. If you are using a size 0 brush, you will want a dollop of white Krytox on your brush.
First I paint the two rails with one side of my flat brush each, until there is an even sheen of lube on the entire length and width of both rails. If you are using a size 0 brush, then you’ll want to dab a bit of your lube on each rail and paint them. I also paint some lube around the outer center column in one movement, being careful not to touch the copper leaf.
I put my Krytox 205G0 brush down and move on to my Tribosys 3203 brush. I like a 00 size brush for Tribosys 3203 because it’s a thinner lube and because I’m aiming to paint a light coat of it on the copper leaf. The Tribosys 3203 lube is only intended to reduce leaf ping and to make the tactile bump consistent in every switch of the same batch without losing the tactility of the switch. This is the delicate part of lubing tactile switches—less is more. I dip my brush in lube, make sure to wipe off the excess on the palette and I paint the copper leaf from side to side, with a bottom to top brush movement. I only do this once to keep the coat even and I flip my brush in the middle.
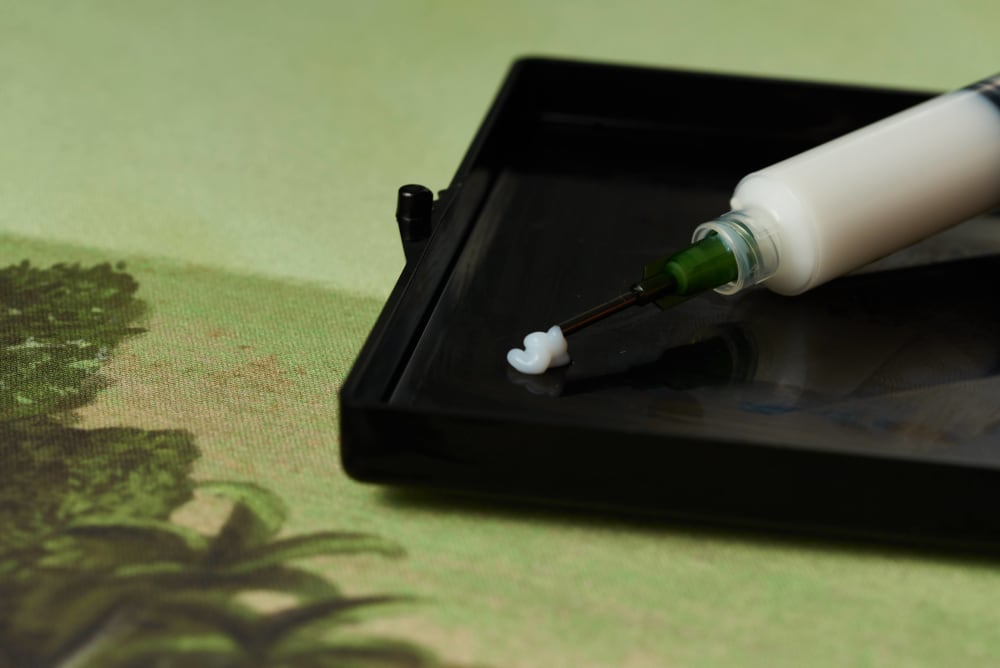
Krytox 205g0
The idea is to have more Krytox 205G0 on the rails of the bottom housings than on other parts, and a very thin coat of Tribosys 3203 shining on the copper leaf. I clip my bottom housings in the lube station as I lube them.
If I’m using them, it’s time to install my films on the bottom housings with precision tweezers. To know if you need films, you want to check for housing wobble before you open your switches. If you want to know more about switch films, you can read this post.
After that, I add a few drops of Krytox 105 oil into my “bag lubing” reusable plastic container full of springs and I shake energetically for a couple minutes. Shaking the springs creates friction which will spread the lubricant evenly on all your springs—you don’t need a lot of oil, only a lot of shaking. I use my ceramic tweezers to disentangle them in the container and install them on the center column of my bottom housings.
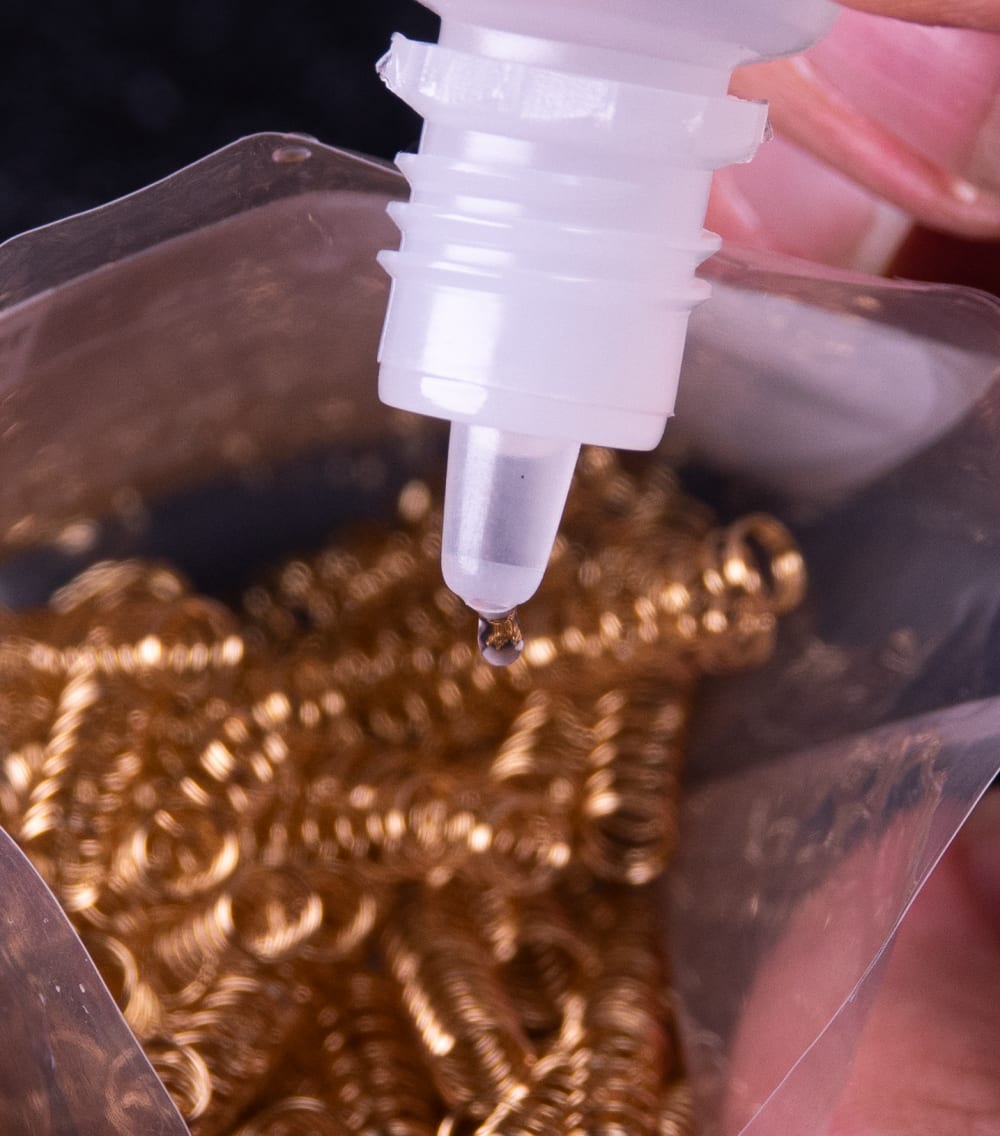
Krytox 105 Oil
It’s time to focus on stems. I am also dual-lubing the stems. I use my stem holder to hold my stem and I start with the flat brush. I dip my flat brush in Krytox 205G0 so that my brush is saturated on both sides but there is no excess of white lube. I start with one slider side of the stem and the back of the stem with one side of the brush. Then I flip my brush for the second slider side and I finish with a swirl of the brush around the stem pole. If you are using a 0 size brush, follow the same method as for the bottom housings rails and deposit a little dollop of lube on each slider of the stem.
I purposefully ignore the front legs as that side of the stem makes contact with the copper leaf inside the bottom housing and contributes inherently to the tactile bump and mechanism in a tactile switch. That is why I use my 00 size brush and Tribosys 3203 to paint the front legs and the front side of the stem. Just like on the copper leaf, I am only looking to have a light coat of lube on that side, especially the front legs so that the alteration to the tactile bump is minimal but still efficient at reducing leaf ping and making the tactile experience consistent in all the tactile switches in my batch. I place each stem in a bottom housing on my lube station.
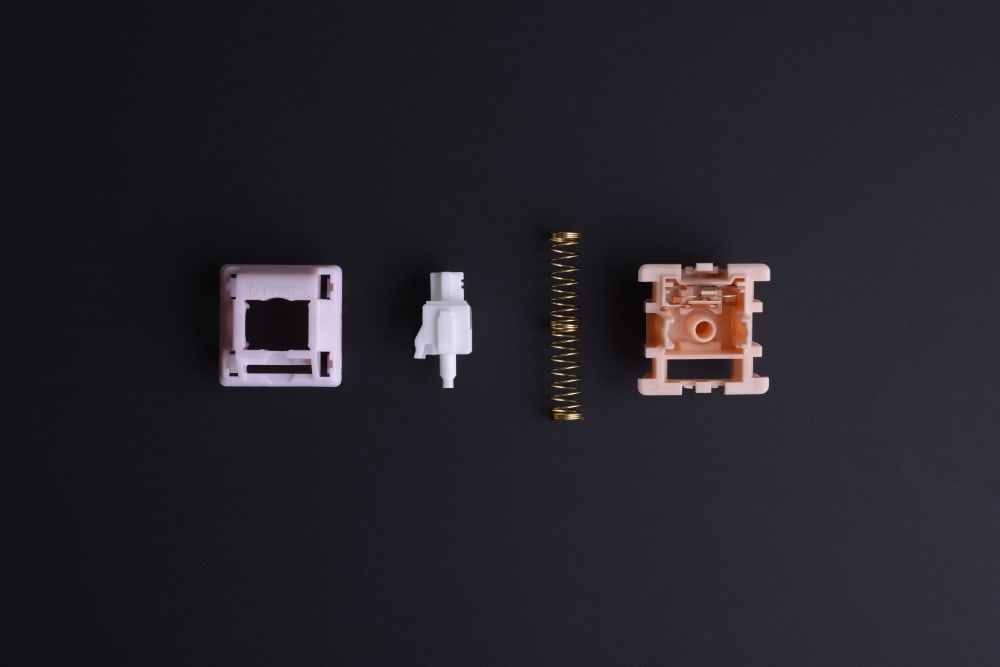
Salmon Tactile Switch Parts
With all my stems installed on the springs in the bottom housings, I’m almost done. Lining up my top housings and making sure the films do not move around—otherwise I will have to reopen the switch and that’s never great because it can introduce housing wobble—I close my switches. I use a large lube station that allows me to do a whole batch of switches at once, but if you don’t have a lube station or you have a smaller one, you can follow this process one switch at a time or in smaller increments.
There it is, this is how I lube tactile mechanical switches. The idea is to get that really nice deep sound from Krytox 205G0 that I like so much while preserving the tactility of the switch but with an overall consistent and pleasant feel thanks to Tribosys 3203. My dual-lubing technique is pretty thorough, but you can simplify it easily by using only Tribosys 3203 or Tribosys 3204 for exemple.
I hope this was helpful and gave you some ideas to experiment and discover your own process with your tactile switches.