Adeana
Dec 4, 2022
•10 minutes
Lubing Keyboard Switches: Tips & Techniques
There are many different ways to lube your mechanical keyboard switches. In this guide we go over three levels: beginner, intermediate, and expert techniques.
Lubing Mechanical Keyboard Switches
A well-modified switch is probably one of the most satisfying parts of the mechanical keyboard experience. For me, it’s right up there with well-tuned stabilizers. From what I can tell, most people hate lubing switches, linear or tactile, it’s more of a chore that needs to get done. Lubing mechanical switches is a repetitive, finicky, and time-consuming task.
There are several ways to counteract the tediousness of lubing switches. You can do it one by one, in small amounts at a time, or in large batches. You can also use a few tricks to streamline your lubing process and make lubing switches faster.
Let’s get into what tools you need to lube linear switches, how to lube your linear switches from a casual level to a frequent flyer level, and how to capitalize on a well-oiled lubing process. I’ll share my own lubing technique for linear switches, and some tips and tricks I’ve used or seen along the way.
Beginner Level
This level fits beginner mechanical keyboard enthusiasts, people who are reluctant to lube switches, people who don’t have the time or energy to invest, and the once-and-done keyboard builders out there. Even people who hate to lube switches but might need to do a few here and there to maintain their boards.
What you need
- A 2-in-1 switch opener
- A pair of precision tweezers
- A size-0 or size-00 brush
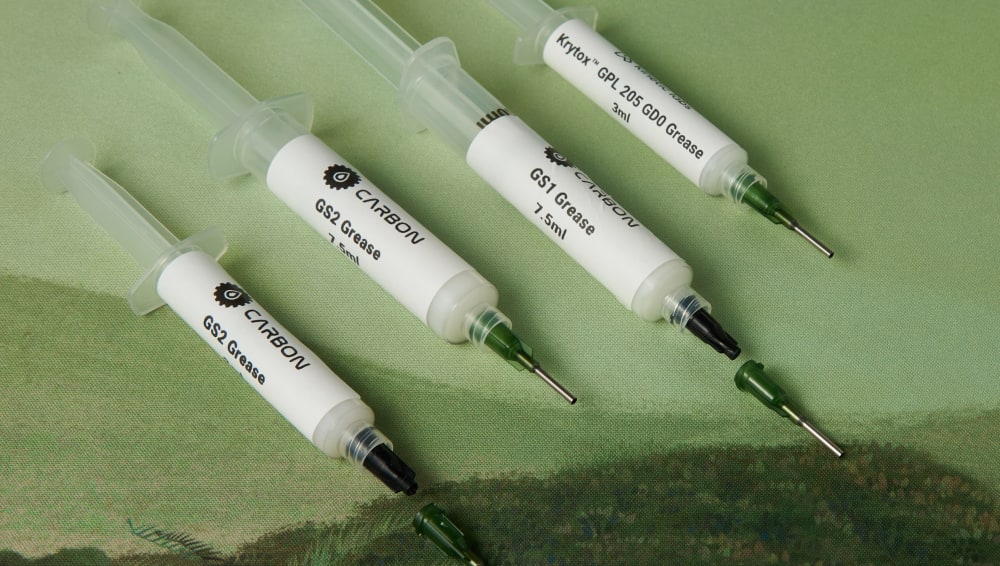
- A syringe of Krytox 205g0 or Carbon GS2, which are both ideal lubricants for linear switches. For tactile switches, we recommend Carbon GS1 and Tribosys 3203.
Optional items
- A bottle of Krytox 105 oil
- A second size-0 brush for the oil
- A stem holder
Lubing Technique
The idea is to lube your switches one by one using your switch opener as your base. This technique is the slowest, but it can allow you to lube your switches in small amounts, at your own pace, and protect them from external contaminations like dust or pet hair.
You will want something to spread your lube on, like a small container, a piece of plastic or better yet a lube palette, and a brush. Make sure your lubricant is well mixed so you cannot see any oil separated, and that the lube you chose is smooth and of consistent texture.

Lube Palette
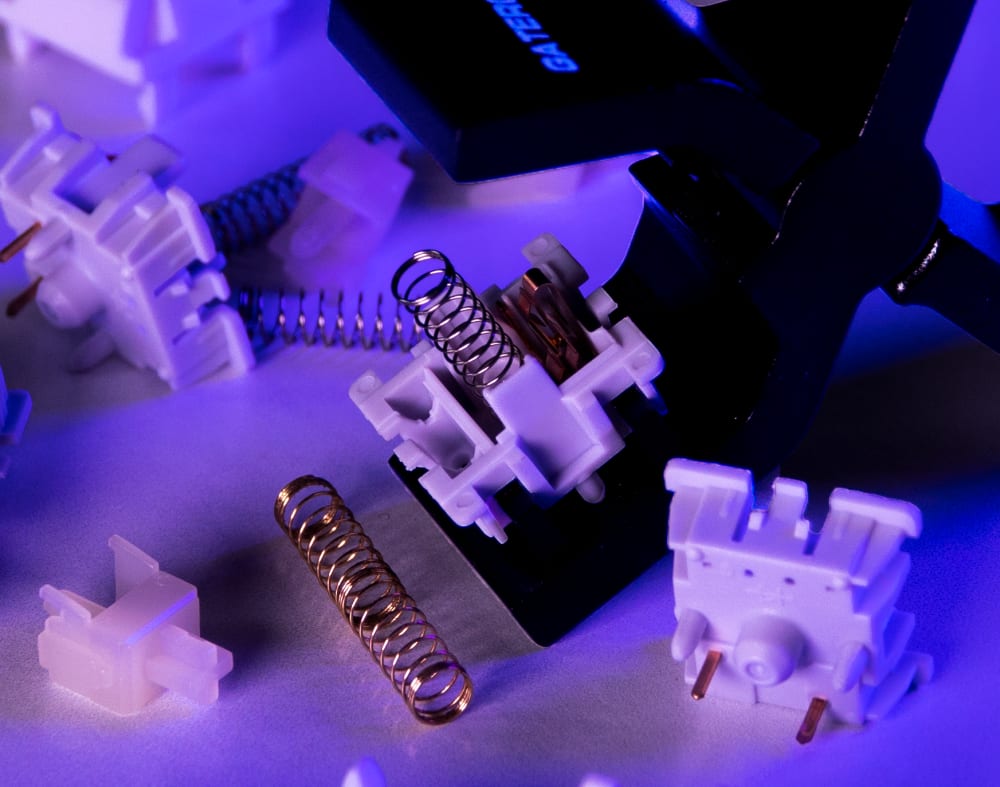
First, use your switch opener—the Cherry MX side is the one with 4 prying prongs and the Khail side is the one with 2 large prying prongs—to crack your switch open and reserve the parts of your switch in your bowl. The sound is what cracks, you won’t break your switch, The prying prongs of the switch opener lift the legs of the switch housing which separates the top and bottom housings of your mechanical switches. And so you know, springs can get bouncy!
Your switch is comprised of five parts: the top housing, the stem, the spring, the leaf—often in two pieces, and the bottom housing. Every part will get some lube aside for the top housing.

2-in-1 Switch Opener
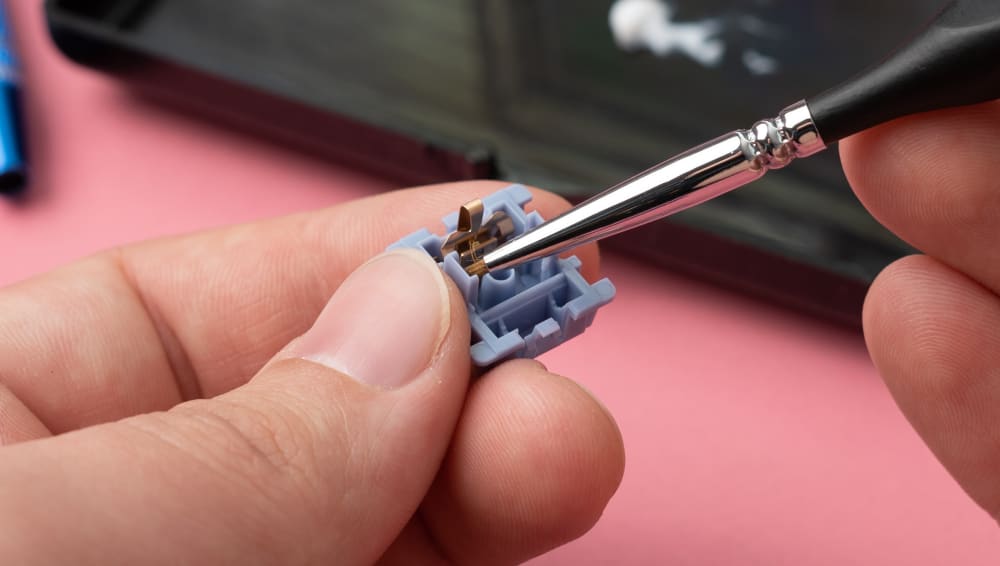
Dip your brush in lube—enough to see a little dollop of white lubricant on the bristles. Dab some lube on both tracks of the bottom housing and brush the lube to apply it evenly. Brush the leaf just enough to see a nice shine on the copper, and then give a swirl around the center hole. Rest your bottom housing on the switch opener.
Lubing with Brush
Dip your brush in lube again and brush the excess until you are certain there is no visible whiteness on the brush but it is saturated. Holding the spring with tweezers or your fingers—precision tweezers are quite the must-have when building keyboards—paint some lubricant over the spring to give it a light shine. Place your spring in the center hole of the bottom housing.

Switch Spring (Symmetric Long)
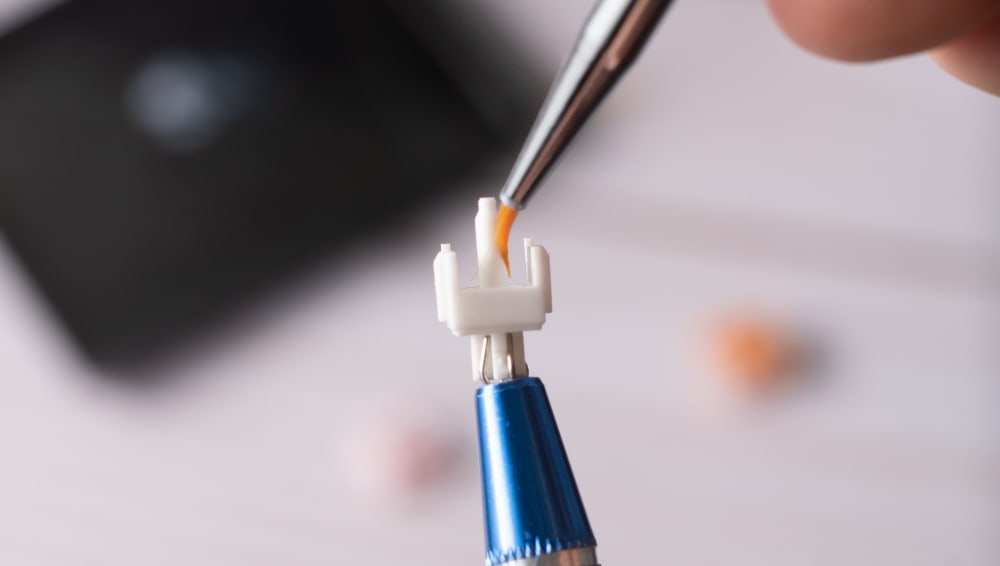
Dip your brush in lube, a bit less than for the bottom housing. Hold your stem by the top—the + shape that has a notch—and dab all four sides of the stem. Paint the sliders, the front and back sides—including the front legs, enough to see a healthy, even, shiny coat of lube but no white blobs. Just like you did with the hole in the bottom housing, give the stem pole a wrap-around swirl with your brush.
Place your stem into your spring with the stem legs facing the copper leaf. Line your top housing on top of the rest of your switch—the cut-outs in the top and bottom housings should match—lift the assembly and press the bottom and top together until you hear your switch click together.
Hot Tip: Don’t try to push your top housing onto your bottom housing on top of your switch opener, your switch sandwich will not close!
There you have it, you lubed a linear mechanical switch. Don’t forget to test the actuation and make sure all for legs are well closed!
The aim is to have evenly lubricated switches so you have a balanced typing experience because your switches all feel equally smooth. Don’t hesitate to experiment with different amounts of lube, or dip in your lube more than once. Less is more—adding lube is easier than removing too much lubricant.

Lubed Switch Stem
You might not get it right with your first switch, or your tenth switch, but you will get the hang of it with practice.
A quick note on lubricants: Linear switches are best lubed with semi-fluid lubricants that aren’t too thin. The viscosity is important, but you can also choose your lubricant with your ears—Krytox 205G0, GS2 Carbon, and Tribosys 3204 all have different sounds. My favorite is Krytox 205G0. Although I also like GS2 Carbon, I dislike Tribosys 3204 as I find it emphasizes the higher notes in switches. As with many things in the world of mechanical keyboards, this choice is a matter of preference. I suggest you try these lubricants for yourself.
You can read this post on Krytox 205G0, as well as this post on Tribosys 3204 to learn more.
Various Switch Lubes
Intermediate Level
This is your level if you prefer to lube your linear switches yourself, all at once or in batches. The technique is streamlined contrary to the casual level.
What you need
- A 2-in-1 switch opener so you can open your Cherry MX and Khail mechanical switches
- A pair of precision tweezers
- A couple of size-0 brushes
- A syringe of Krytox 205g0 or Carbon GS2, which are both ideal lubricants for linear switches. For tactile switches, we recommend Carbon GS1 and Tribosys 3203.
- A lube palette
- A stem holder
- A bottle of Krytox 105 oil (and a zip sandwich bag)
- Switch films if your linear switch needs them
- A lube station
Lube Technique
This technique involves a lube station, so you can streamline your lubing process. Most lube stations out there will let you lube batches of switches, small or large. The one available at Kinetic Labs will let you lube 36 switches.

Kelowna Switch Lube Station
First, you will need to decide how many switches you would like to lube in one sitting. Crack open these switches and divide the pieces into separate containers. I like to use glass candle jars but I often suggest people use Kinetic Labs switch containers.
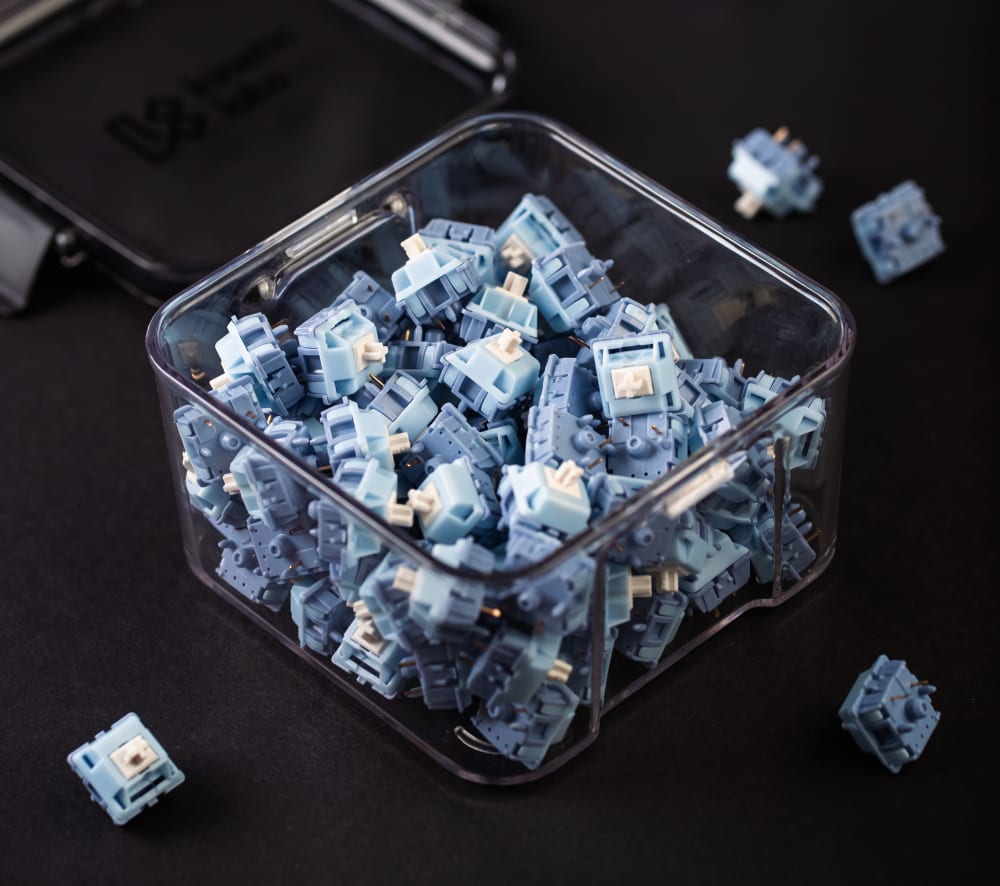
Switch Container
The order of lubing your mechanical switch parts remains the same, as does the technique in terms of the bottom housings and the stems. You streamline the process by lubing all of your batch pieces at once, for each part of your mechanical switch.
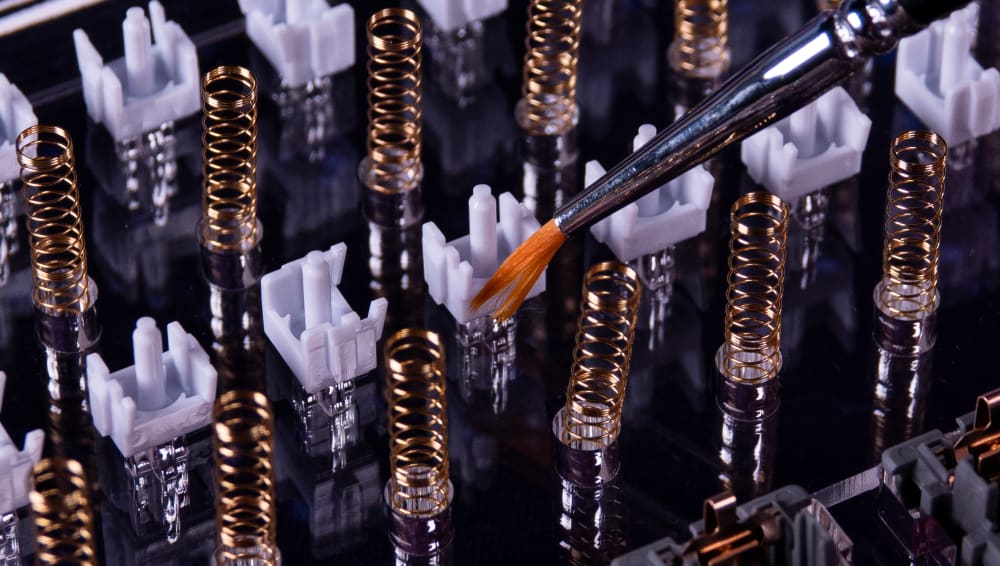
I like to hold bottom housings in my hand while I lube them and then latch them onto the lube station. I also use my stem holder to lube stems. You can however place all the dry parts of your mechanical switches onto your lube station before you lube them and use the station itself to help you do that.

Lubing Housings with Lube Station
If you are using films, position them onto each of your bottom housings once you have lubed them. Be mindful of the cut-outs and as a general tip, the shiny side of the film goes face down on bottom housings.
You could place your springs on the lube station and just let a tiny itty bitty drop of Krytox GPL105 oil on each one. You could also dip a fresh brush—one brush, one lube—in a little bit of Krytox GPL 105, and while holding each spring with a pair of precision tweezers, paint a thin layer of lube on your springs.
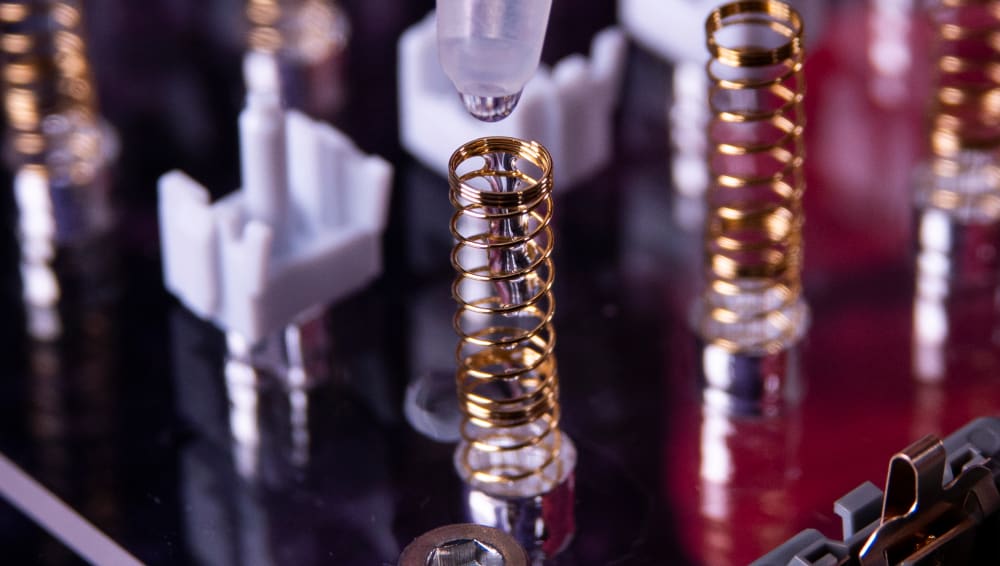
Lubing Springs in Lube Station
Hot Tip: you can also use the ‘Bag’ lubing technique to streamline your process even more.
Once all your springs are lubed, it’s time to lube all the stems in your batch, either on the station or holding them with a stem holder.
Then build all of your switch sandwiches and close them!
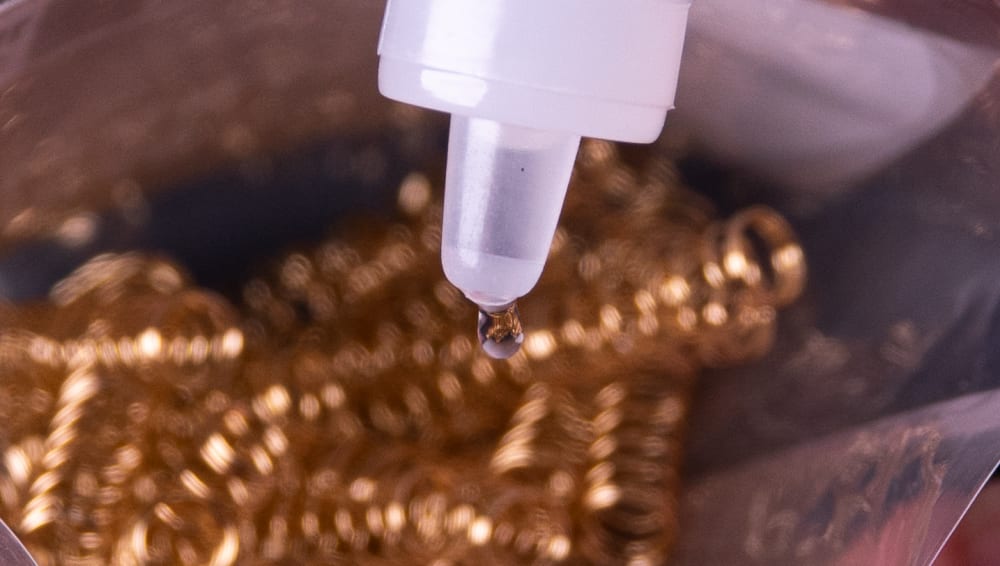
Bag Lubing Switch Springs
A quick note on switch films: if you have researched your switch and tested a few, you will know if you will need switch films or not. According to how much housing wobble you notice, you might need a film of low to high thickness. Films thickness usually starts at 0.125 mm to 0.30 mm being the thickest film you can find. The materials vary, usually thinner films are flexible plastic and we use expendable foam for thicker films. Films are helpful to reduce housing wobble—a certain amount of stem wobble is to be expected as it is a moving part—and provide you with a stable typing experience jointly with the evenness of your lubing handy work.
Don’t hesitate to have a look at our How to Use Keyboard Switch Films post to know if you need films and how to choose them.

Installing Switch Films
Expert Level
This level is for mechanical keyboard enthusiasts who regularly lube switches, content creators, and people who would like to take switch lubing commissions—after you have some practice and you can consistently lube switches evenly.
What you need
- This switch opener for Cherry MX switches—affectionately called the “Nutcracker”
- A 2-in-1 switch opener so you can open your Cherry MX and Khail mechanical switches
- A 2x pair of precision tweezers
- A couple of size-0 brushes, one for each lubricant.
- A syringe of Krytox 205g0 or Carbon GS2, which are both ideal lubricants for linear switches. For tactile switches, we recommend Carbon GS1 and Tribosys 3203.
- A lube palette
- A stem holder
- A bottle of Krytox 105 oil (and a zip sandwich bag)
- Switch films if your linear switch needs them
- A lube station
- 3x large switch container that you will use to sort your switch parts
- Switch films—depending on the thickness you might need
- Switch springs—if you are swapping the original springs in your switches
Lube Technique
This is where I tell you how I streamline my lubing process for large batches of my switches and lubing commissions. For linear switches, my process takes about 2 and ½ hours for a batch of 110 switches.
First, count your switches, and use your “Nutcracker” to open them all. Reserve each part in its own container. Save the springs you are using in your lubing reusable plastic container—count them first if you are swapping original springs for new ones.
Gateron Nutcracker Switch Opener
Apply an even coat of lube to the rails, leaf, and the outer wall of the center hole in the bottom housings, latching each of them onto your lubing station as you go. Then place the films on each bottom housing if you are using any.
‘Bag’ lube your springs by adding a handful of Krytox GPL 105 oil drops into your reusable plastic container with your springs—shake, shake, shake. Use your precision tweezers to pick up your springs and place them all on the center hole of your bottom housings.
It’s time to lube all of your stems one by one—holding them with your stem holder, brush lube onto the sliders, the front and back sides including the front legs, and give a swirl around the stem pole. Release them from your stem holder onto your springs one by one.
Hot Tip: some enthusiasts like to also ‘bag’ lube their stems. You definitely want to use one of those plastic switch containers, and the lube you have chosen for your bottom housings—don’t use Krytox GPL 105 oil. Place all your stems in the container, then smear a generous dollop of lube on all sides of the container. Shake for a good 3 to 5 minutes to make sure you have enough friction that all your stems are evenly coated. If you choose that route you will have to wipe the top of your stems once you have closed your switches so that your keycaps don’t slide off when typing.
Et voilà! You have yourself a batch of switch assembly sandwiches that you can close with your top housings in one go.
Lubing with Lube Station
A quick note on springs: spring swapping is possible and useful if the mechanical switch you are looking to use does not have a bottom-out weight or an actuation force that pleases you. It’s also a good trick for these crunchy springs that can’t exactly be salvaged. For linear switches, you need to be mindful of the pole length of your stem and the upstroke or return after you press your switch.
Lubing switches can be tedious, but if you get into a groove—and watch a good movie or your favorite keyboard streamer—it can go by quickly. I find lubing rather relaxing in the right circumstances. Maybe lubing your switches will surprise you if you give it a go?
Using lubed linear mechanical switches is a great keyboard modification that will immediately give you a better mechanical keyboard experience. Very few enthusiasts will tell you that lubing switches is unnecessary.
You can always commission someone experienced to lube your switches, or you can also opt to buy factory pre-lubed switches like Kinetic Labs Husky switches, Gateron Oil King switches, etc.
You will get better at lubing switches with practice, but there is also no shame in admitting that lubing switches is not for you if it isn’t.