Emmanuel A.
Jun 27, 2023
•10 minutes
Understanding Switch Springs and Switch Swapping
What are switch springs and switch swapping? This blog post talks about these key aspects to further your understanding of your next set of mechanical switches.
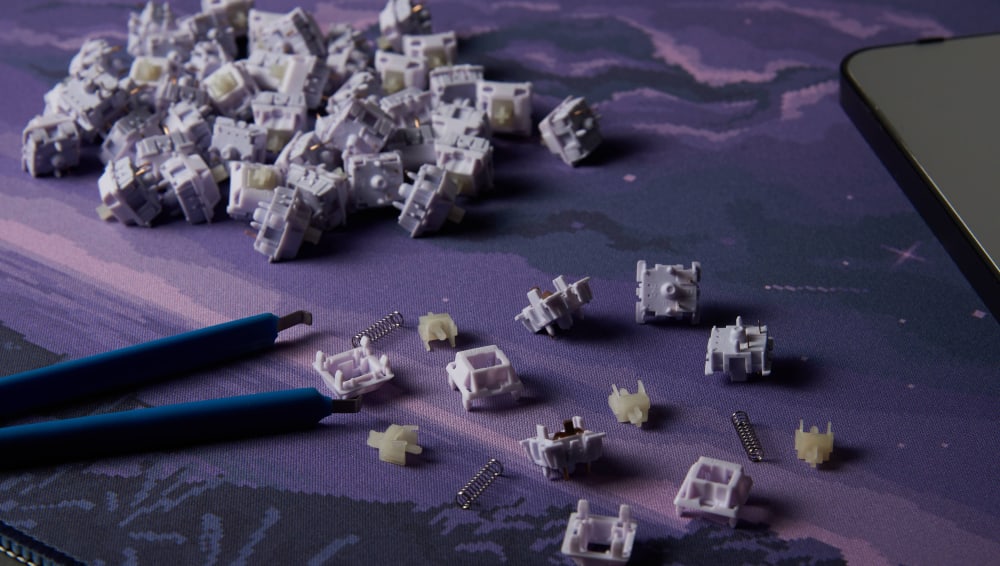

Hippo Linear Switches with Switch Puller
When it comes to fully enjoying all of the benefits of a mechanical keyboard, it all boils down to how well you are able to customize and modify every feature to suit your unique taste. The keyboard switch and all its components are an important part of your mechanical keyboard, playing a large role in determining factors like how much noise is produced when you click away, the intensity of press needed, and the distance it takes down the switch for a press to be registered.
All of these can be fine-tuned just by playing with your switch. However, many do not like to go down into this "dirty work," not just because it requires them to manually change the switch, as opposed to making customizations from the computer, but also because they do not fully understand how switches work and how they can swap them.
This article aims to help you understand how switches work in mechanical keyboards and how you can customize them to achieve the specific details you want in a keyboard.
What is a Mechanical Keyboard Switch?
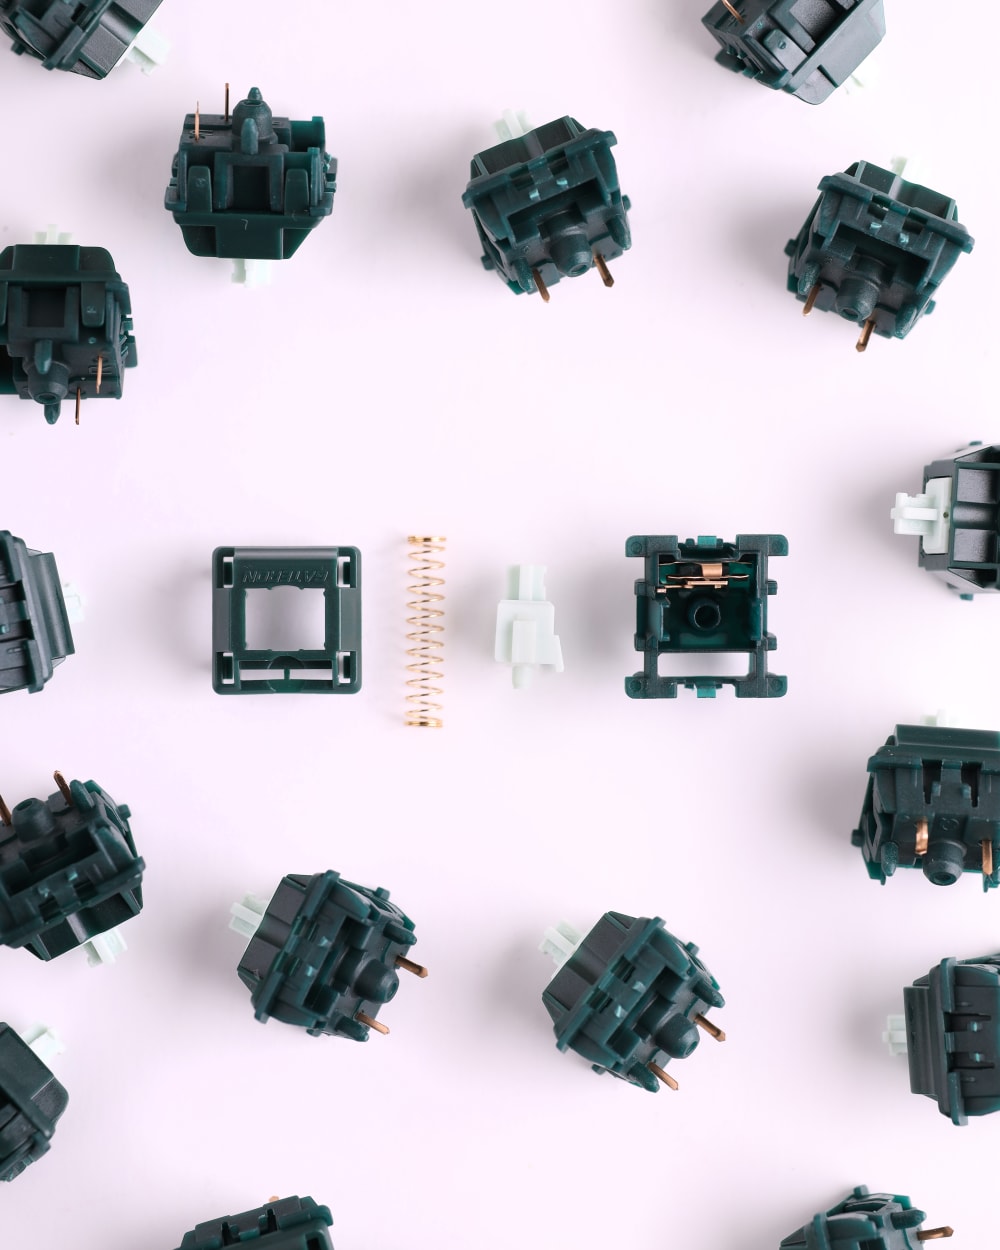

Gecko Silent Linear Switch Opened Up
The keyboard switch is the system beneath a mechanical keyboard’s keycap that makes it possible for a keypress to be registered. A keypress registers after the switch has hit the keyboard’s PCB in order to transmit signals. The PCB then takes the signals and sends them to the computer’s CPU. The CPU interprets the signals and delivers the right action through the monitor.
A mechanical keyboard switch differs from just some thin membrane layer beneath the keycap as in membrane keyboards. It is a raised system that lets force go down from the keycap to the PCP through a spring. The spring, when force is applied, goes down and immediately bounces back to its initial position when the force is removed.
A keyboard switch is made up of five main parts. These are the bottom housing, the contact leaves, the spring, the stem, and the top housing.
When you press the switch, it compresses and the stem, which contains the spring touches the contact leaves. This process is what activates the switch to make a keypress. When you let go of the key, the spring uncompresses and the stem comes back up to the top housing. This fully resets the switch and gets the key ready for another press.
Types of Keyboard Switches
There are three main types of keyboard switches. These are linear, tactile, and clicky. While the subject of discussion here is not primarily about the types of switches, understanding what types there are and how they work will help you better understand and appreciate how springs work.
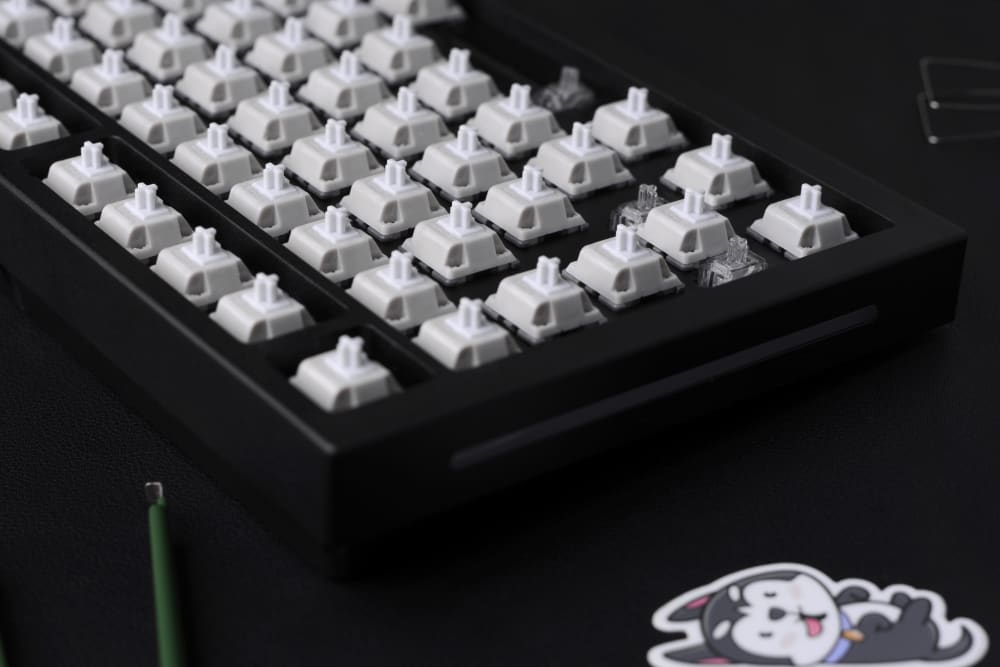

Husky Linear Switches
Linear Switches: Linear switches, as their name implies, give a smooth and even feel all through the process of a press, quite similar to how a membrane keyboard would. They give no sound or tactile feedback so you're likely to always bottom out before releasing each key when using a linear switch.
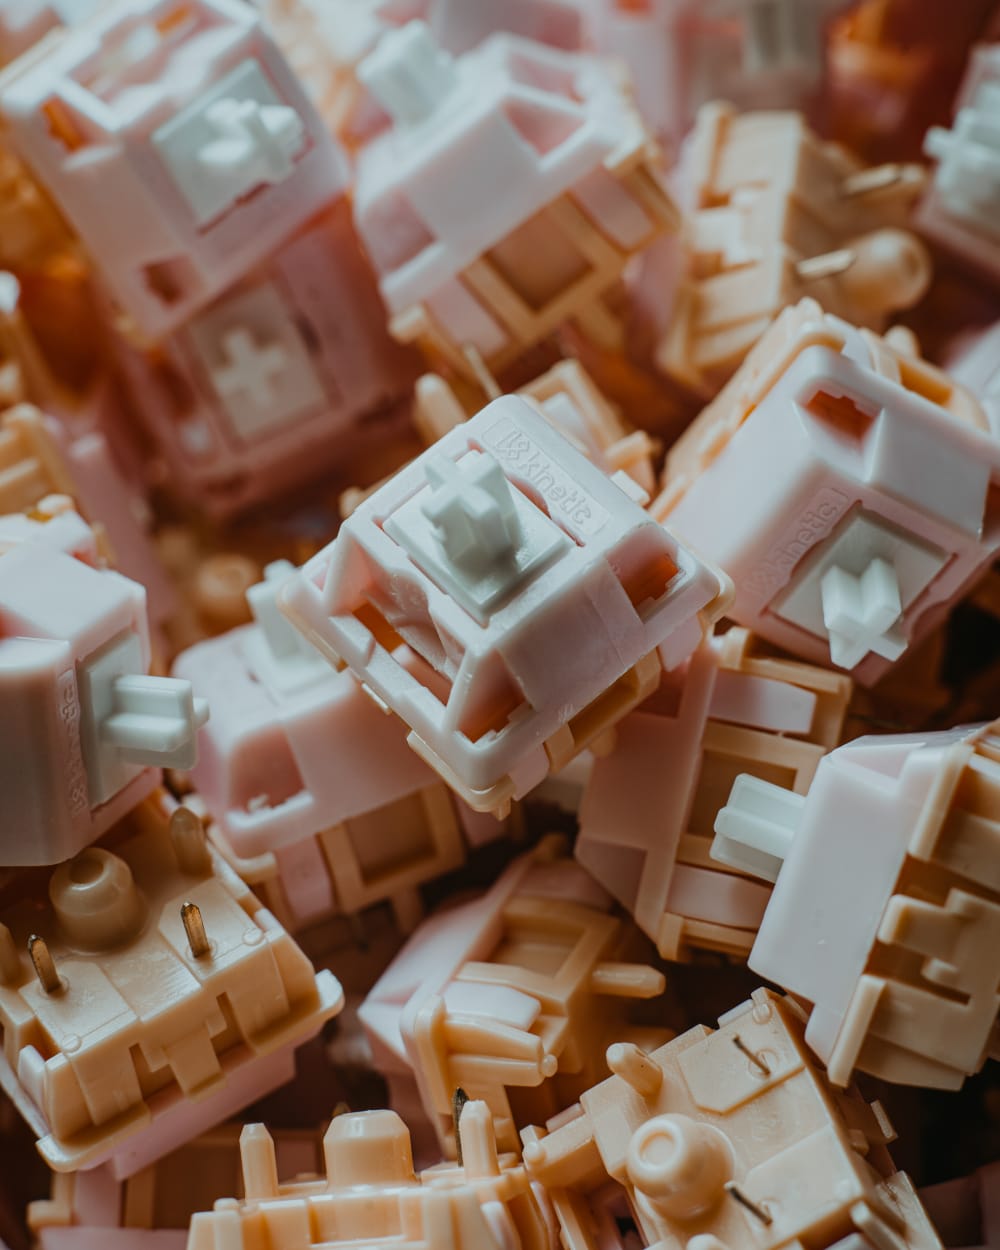

Salmon Tactile Switches
Tactile Switches: Tactile switches let you know when you've reached the actuation point on your keyboard by giving a bumpy feedback somewhere in the middle of the press. So you don't really need to bottom out when using them.
Clicky Switches: Clicky switches give a clicky feedback when you hit the actuation point. And that's before the press bottoms out.
The Keyboard Switch Spring
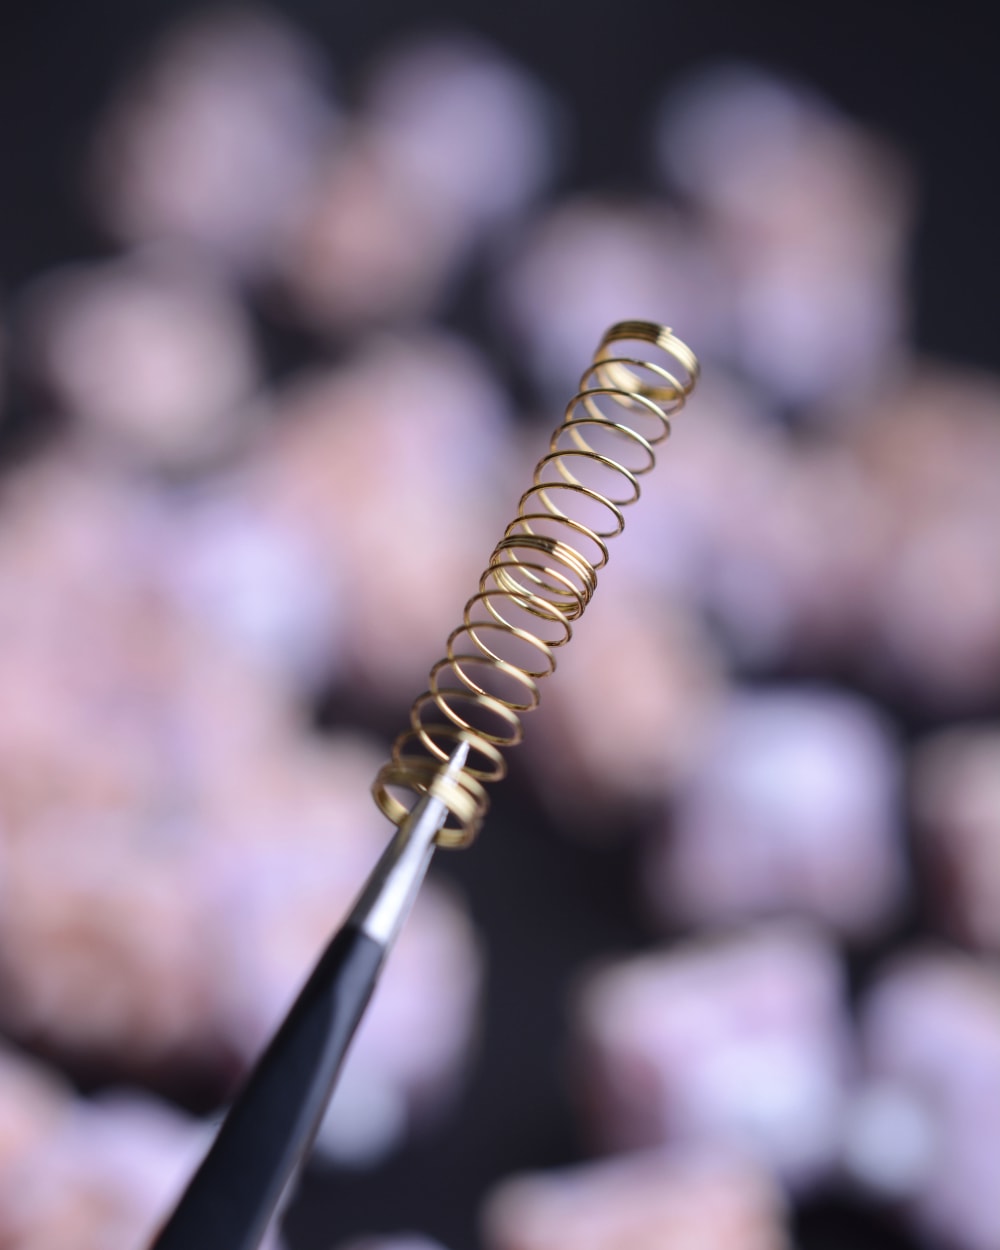

Tweezers Holding Mechanical Switch Spring
The spring and its elasticity are what make it possible for a key to bounce back after it is pressed.
There are different kinds of switches and they are grouped based on the bottom out force, that is, how much force it takes for the spring to go all the way down to the bottom housing when the switch is pressed. This rating is determined by the weight of the spring. The heavier the spring is, the more bottom out force it would have because the weight is going to contribute to its resistance when it is pressed. So lighter springs yield lower bottom out force while heavy springs result in high bottom out force.
Note that the bottom out force and actuation force do not mean the same thing. The actuation force is the force needed for the keypress to be registered while the bottom out force is the force needed to get the switch all the way down to the bottom. A keypress can be registered before the switch hits the bottom so bottoming out is not always a requirement. However, some mechanical keyboard users love the bottom out effect, and switches like the tactile and clicky ones are designed to enhance that.
Other important switch and spring terms you should know are:
Pretravel: The initial distance that the switch must move before it is actually triggered to start the process of making a keypress.
Initial Force: The force required to get the switch to the point where it is triggered to start making a keypress.
Total Travel Distance: This is the total distance a switch moves until a press is registered.
Actuation Force: This is the force required to get a keypress registered.
Actuation Point: The point on the switch where the keypress is registered.
Bottom Out Point: The point where the switch goes all the way down and can go no further.
Bottom Out Force: The force needed to get the switch to the lowest point it can go.
Types of Keyboard Switch Springs
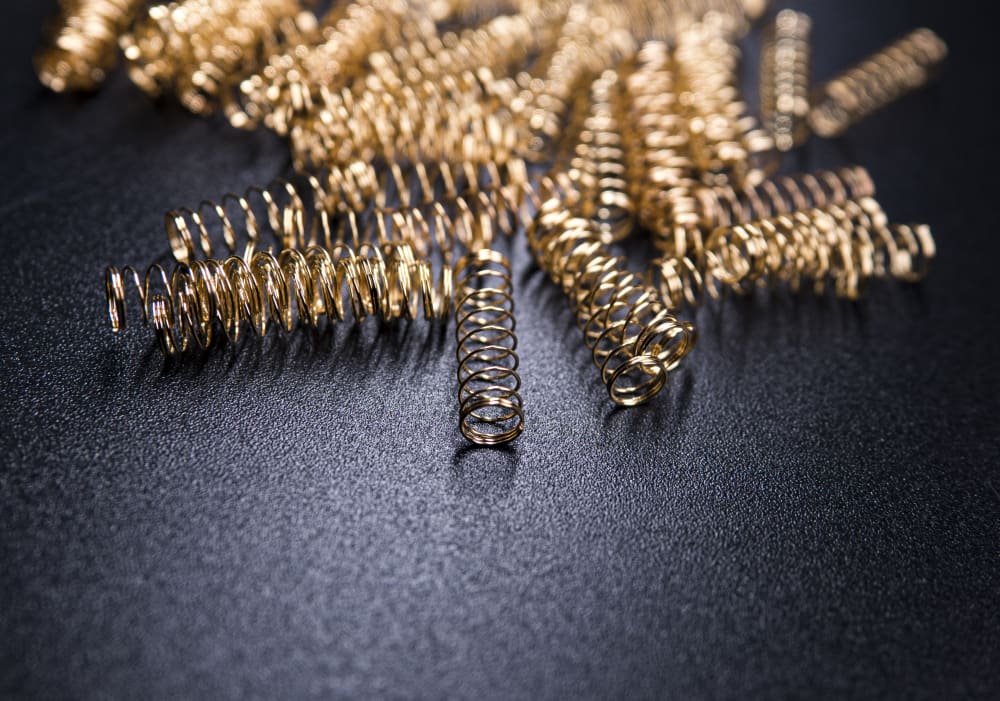

Durock Gold Springs
There is more to springs than just their weight or bottom out force. Springs are generally classified into three types: linear, slow, and progressive. The differences are determined by the slope of the force that would be required per each moment the spring travels down until the keypress is activated.
Linear Springs: In linear switches, the force required to push down the spring as it travels down to the bottom housing increases exponentially and at a fast rate too. So to get the spring all the way down and get the keypress registered, you have to keep applying more force as the spring goes down.
Slow Springs: Slow springs work quite similarly to linear springs. However, they require a higher initial force (at the beginning of the press) than linear springs. So while the force needed to get the switch down would also increase exponentially, the increase would not be as high as that of linear springs. Therefore, it tends to appear that the force needed to be applied to slow springs is consistent all through its journey down to the bottom housing.
Progressive Springs: The progressive spring takes a different progression in force application as it travels down. At the beginning of the press, it requires a very light press and the force needed tends to even go lower as the springs continue to travel, forming a dip in force. However, towards the middle of the press, the force needed picks up again and continues to increase at a very fast rate.
Note once again, that spring types are determined by the progression of the slope of the force needed as the spring travels down and not the actuation force needed to register the keypress. This is because different springs come with different actuation forces which are determined by other factors like their height and weight, which contributes to their resistance.
Longer springs may also require more preload. That is, some force will need to be applied for a while before the springs actually initiate the process of the keypress. At the same time, having the spring attached to its switch can affect the travel distance as this can cause the spring to be in a state that is already a bit compressed before any press is made.
Furthermore, the density of a spring also plays a key role in the process. More dense springs, that is springs with more coils are more springy and would give less resistance than springs with less coils which turn out stiff and slightly unwilling to be pressed down. Springs also tend to sometimes differ in density across the length. Some springs come with both ends being denser than other parts. Others have a denser mid-section, and so on. This orientation might also influence how much force would be needed at each point as the spring goes down and the bounce back effect.
That said, it is important to understand how this works in theory, but it is also important to identify the different factors that influence the movement of the springs in your keyboard and the force needed. As already mentioned, these can include the spring length, the type of spring (of course), and the preload of the spring in its switch.
Can You Swap Your Switch Springs?
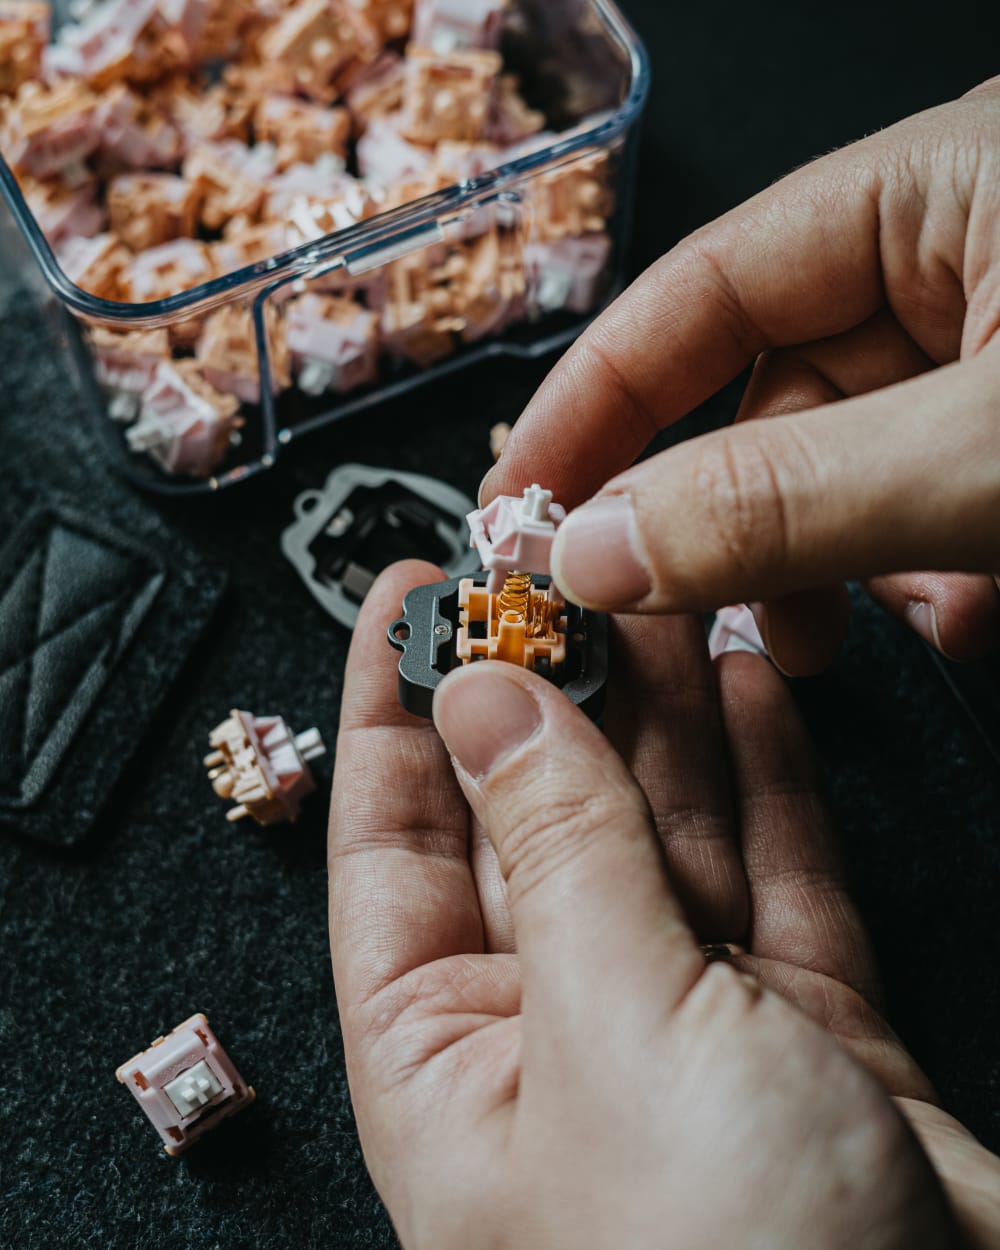

Switching out Salmon Springs with 2in1 Switch Opener
Yes, you can. But why bother swapping a minute detail like the spring in your switch when you can just go ahead to buy a switch that comes with a lighter spring? Some mechanical keyboard users are highly specific, however. If you love mechanical keyboards and you use red switches, you might find their springs too light and the sound and press effect satisfactory enough.
So if you find out you love other features a switch is giving, but consider the bottom out force too light or too heavy, you could just go ahead to swap the spring to a more suitable one.
For example, the material some switches are made from makes them give some pleasant and unique sound signature when pressed. This can be something you love, but the spring in the switches can turn out too light or too heavy for your taste and so you have to replace them.
There are other reasons too other than the bottom out force why you might feel you should change the spring in your switch. For example, you might find some springs giving pinging or crunching noises when the switch is pressed. You may find this happening when you stock purchase switches. Some switches also just come with inferior springs that make the switches malfunction and result in keypress glitches like failing or slow keypresses.
Note, however, that you do not always have to swap your spring whenever you notice a glitch. It might be what lubing with Krytox 105 Oil can solve and you’d never know unless you try.
Whatever the case, before you discard a spring (unless it is outrightly bad), you should try them on other kinds of switches you have. The effect a spring would bring in a tactile switch, for example, could be more pleasant than what the same spring would bring when used in a linear switch. So it could happen that you would like the spring more on one switch type than the other.
Tactile switches are loved for their bumpy feel at the end of the press so a spring that requires more force at the beginning of the press, such as slow and linear springs tend to compliment them. For an even more intense tactile effect, you can consider using longer springs.
Also, play around both the weight and type of springs when testing for the perfect spring. You might get in a different type of spring what you could also get if you go for a lighter or heavier weight than the initial spring type.
- It takes a lot of careful concentration to notice the subtle differences in the feel of a spring. So at the end of the day, for the most part, it may not so much matter what kind of spring you have in your switch since the nature of the switch is what plays the most significant role. By the time you get so engrossed in gaming or typing away, you’d notice less of the effect the springs are having in terms of the progression of the force applied.
Conclusion
The switch is the life of a mechanical keyboard. It is a system of its own, broken further down into tiny components playing key roles in the effectiveness of the switch. The spring is a very important game changer in your switch, and it can go a long way to impact the feel of your keyboard, including the sound each key produces as you click away and the actuation force required to register each keypress.