Preston S.
May 10, 2023
•2 minutes
How to Test Your Mechanical Keyboard PCB
This short guide describes testing mechanical keyboard PCB with concise instructions, tools needed, and methods to check for defective switches or connections.


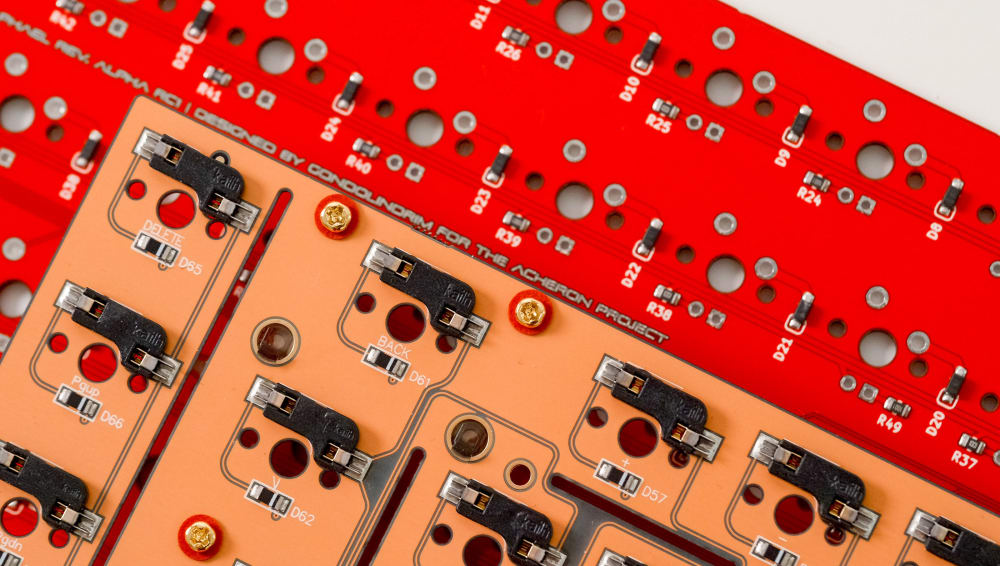
Keyboard PCBs Up Close
The first thing that could go wrong before you even start building a mechanical keyboard is receiving a damaged PCB and it isn’t fun to find that out after you have already put your keyboard together, but how do you go about testing to see if your PCB works in the first place?
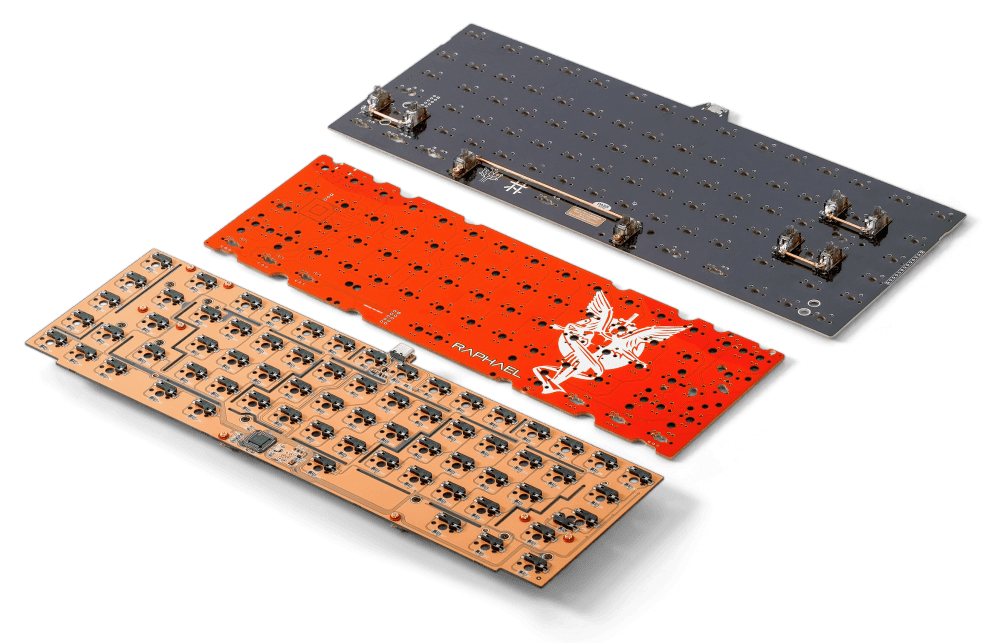
To test and see if your PCB is working properly, you will need a PCB of course, a clean surface, a USB cable to connect your PCB to your PC, and some metal tweezers. Depending on whether you have a hot-swap or solderable PCB, your PCB will look something like this:


Mechanical Keyboard PCBs
First, you want to wipe down the surface you are going to be putting your PCB onto so that you won’t accidentally damage it in the process. Next, grab your USB cable and connect your PCB to your computer. To test if your PCB is working you can use VIA if your keyboard supports it or just use keyboardtester.com (Only works with ANSI layout keyboards).
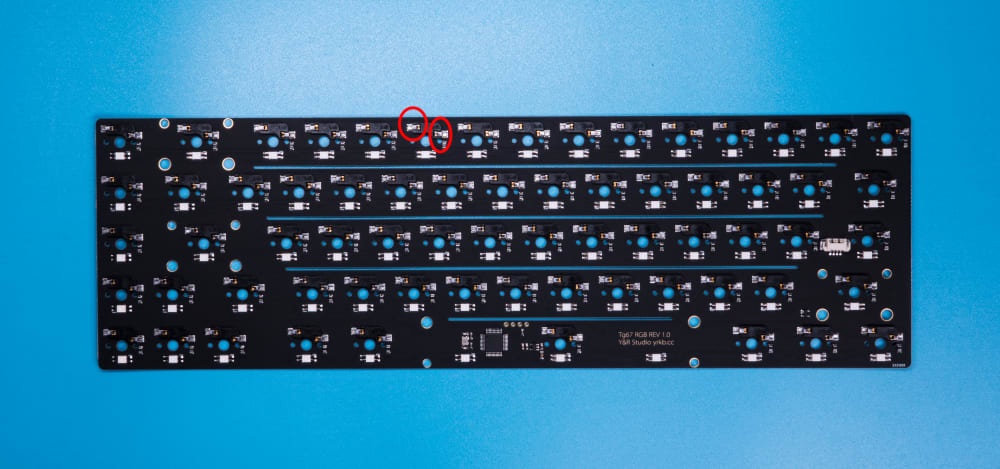
Now we are going to be testing each switch with our metal tweezers. You want to place your tweezers onto the two holes the switch goes into (this can be either the front or back side of the PCB, they should both work), and if it lights up on your PC, then that means that the key is working. If it doesn’t light up the first time, try again as you may have just positioned the tweezers incorrectly. If it still doesn’t work after like the third time, that could mean you have a faulty PCB. See the red circles below for an example of where you insert the metal tweezers:


PCB Sockets for Testing
Once you are finished with this process, you can either contact support if your PCB indeed has issues and get sent a new one, or start building your keyboard like you normally would, but now you don’t have to worry about having a broken PCB.