Preston S.
Jan 29, 2023
•5 minutes
How to Install Switches On Hot-Swap Keyboards
Installing mechanical keyboard switches on hot-swappable keyboards is an easy process. In this post we cover how to install hot-swap switches on your keyboard.
Hot-Swap Mechanical Keyboard
Installing switches for the first time might seem challenging, but with this guide, you will be installing them like a pro in no time!
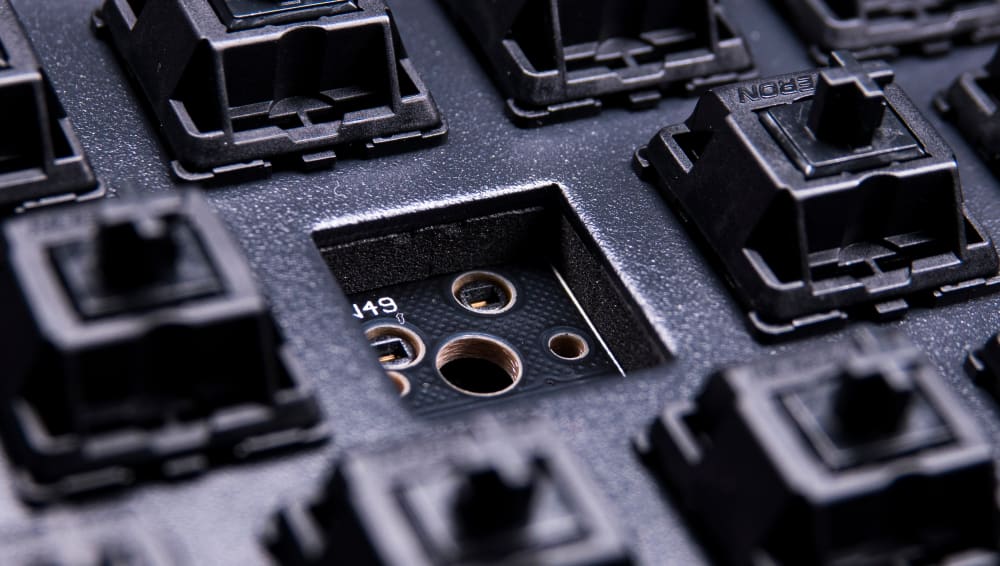
The first thing I wanted to quickly go over is what exactly a hotswap PCB means. Hotswap PCBs utilize sockets that basically make it so you can alternate between any switch at any time by being able to easily remove them using a switch puller. This is a great option for beginners as it removes the need to solder switches which can be quite challenging without the proper practice.
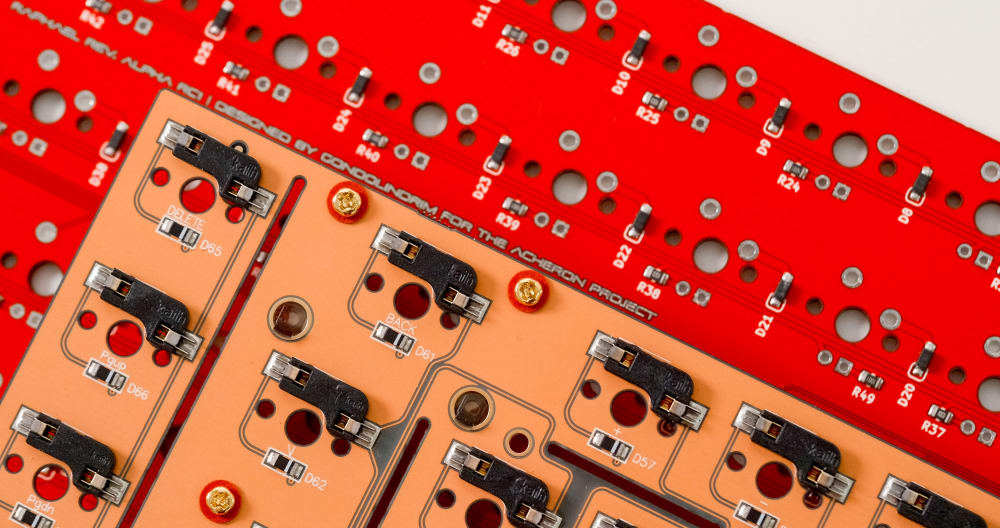
Hot-Swap Keyboard PCB
Secondly, mechanical keyboards use two types of switches. One Switch has 3 pins and another has 5 pins. The only thing you really need to know when it comes to this is that 5-pin switches can be installed directly onto the PCB without needing to be installed onto the plate, and provide more stability due to it having 2 more pins. 3-pin switches need to be installed through the plate and onto the PCB because they are missing the 2 pins that provide the switch to be mounted directly onto the PCB. This does not mean 5-pin switches are automatically better than 3-pin switches though as there are plenty of great 3-pin switches out on the market.
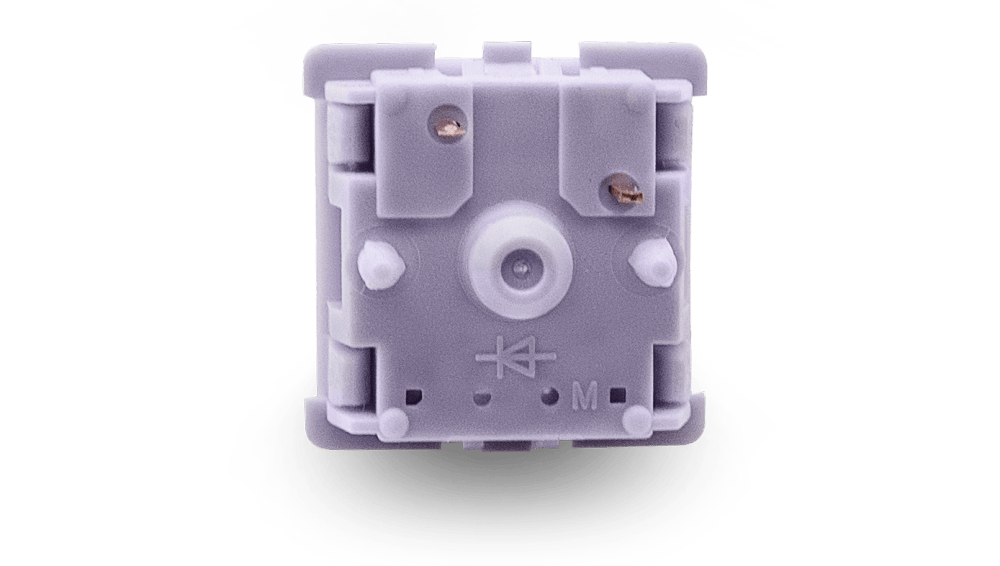
5-pin Hippo Switches
The installation process for switches is quite simple. All you need to do is make sure your plate is on the PCB and if you are using plate foam make sure to install it between the plate and PCB. Also, if you are using any type of pe foam sheet, it goes on top of the PCB and underneath the plate foam (make sure when using PE Foam to not have it touch the stabilizer housings as it can make them feel very mushy when pressing your bigger keys like the spacebar, backspace, etc.). If you are not using plate foam, you can always buy a plate fork to help install your switches without bending the plate in the process. This is especially helpful if you are using flexible plates like polycarbonate or POM plate. Some keyboards use north-facing sockets and some use south-facing sockets. This means you have to rotate the switch according to the way the holes are facing on your PCB.
Installing Hot-Swap Switches
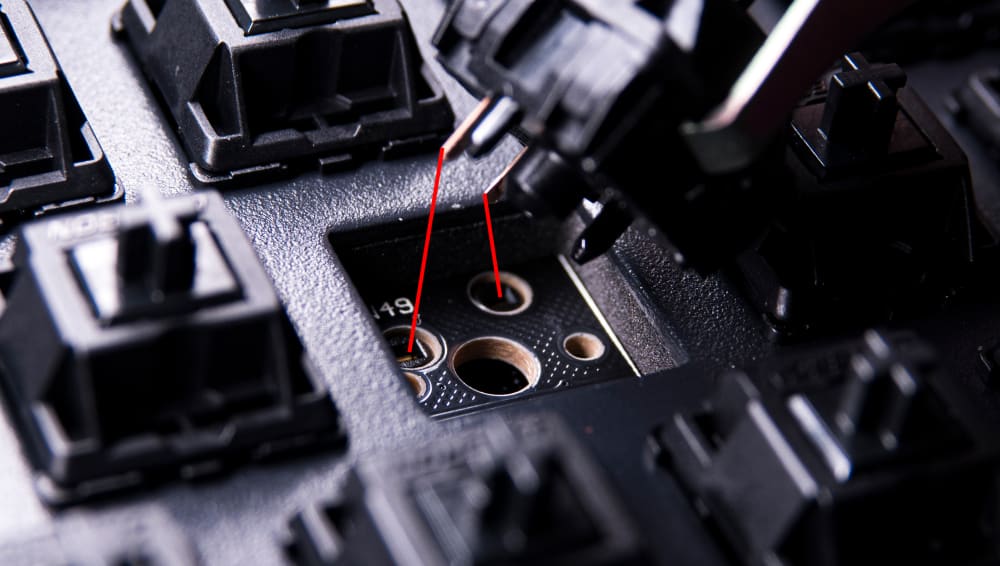
Once you have figured out which way your PCB’s sockets are facing, you want to align the switch with the holes on the PCB and press down. You shouldn't have to use too much force, and if it does require a lot that might mean that the pins are a little bit bent so feel free to double-check and make sure the pins on your switch are straight and try again.
If your switch is bent and you don't know how to straighten it, don't worry we can fix it together! To fix bent pins all you need are a simple pair of tweezers. Once you have them, you want to see if the pin is folded in on itself, and if it is, go ahead and gently unfold the pin using the tweezers. Once you unfold the pin, you can try to straighten the pin to the best of your ability. If you think it's straight enough, try inserting the switch back into the PCB and check if it works. Now sometimes switch pins can be bent so badly that they are unsalvageable, so always order at least 5 more switches than what your keyboard calls for.
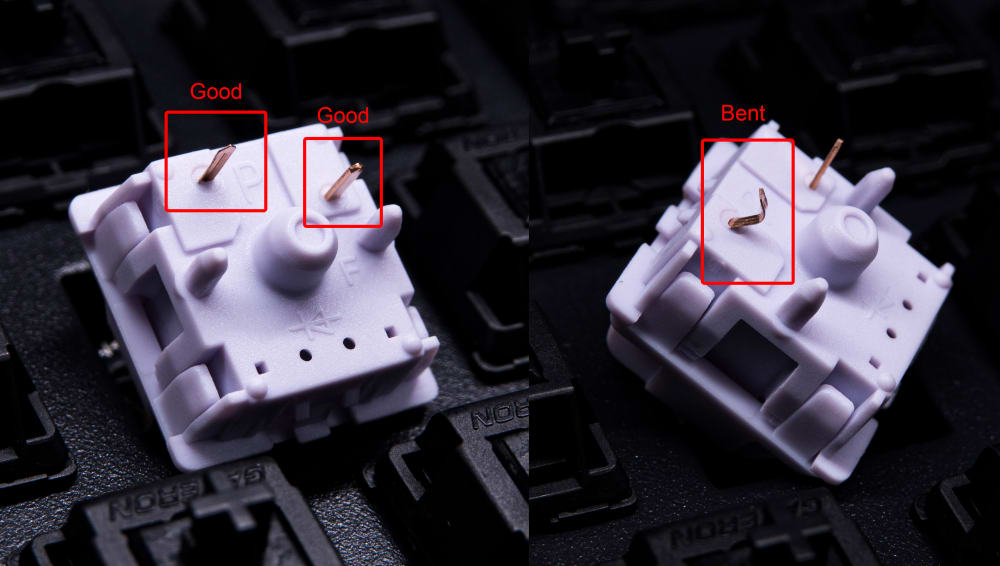
Bent Switch Pins
The process from here on out is quite simple since now all you have to do is repeat this for all of your switches. I hope this guide helped and as always, happy typing!