Catherine L.
Jun 5, 2023
•9 minutes
A Step-by-Step Guide to Cleaning Your Mechanical Keyboards
Let's face it. We all eat and drink when we're using our keyboards, which is fine and all, but when you dare look at the cracks between your keycaps you might get a little disgusted.
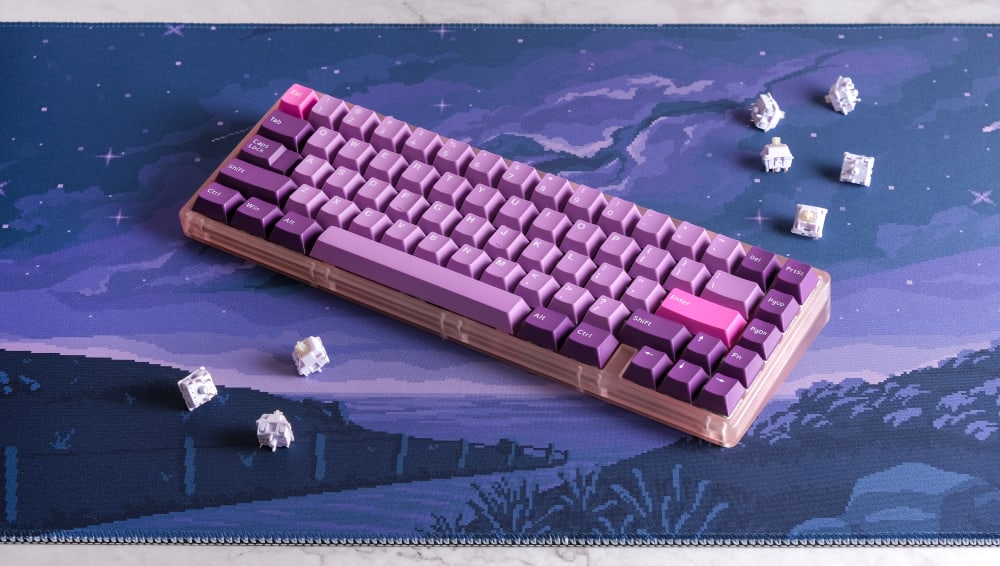
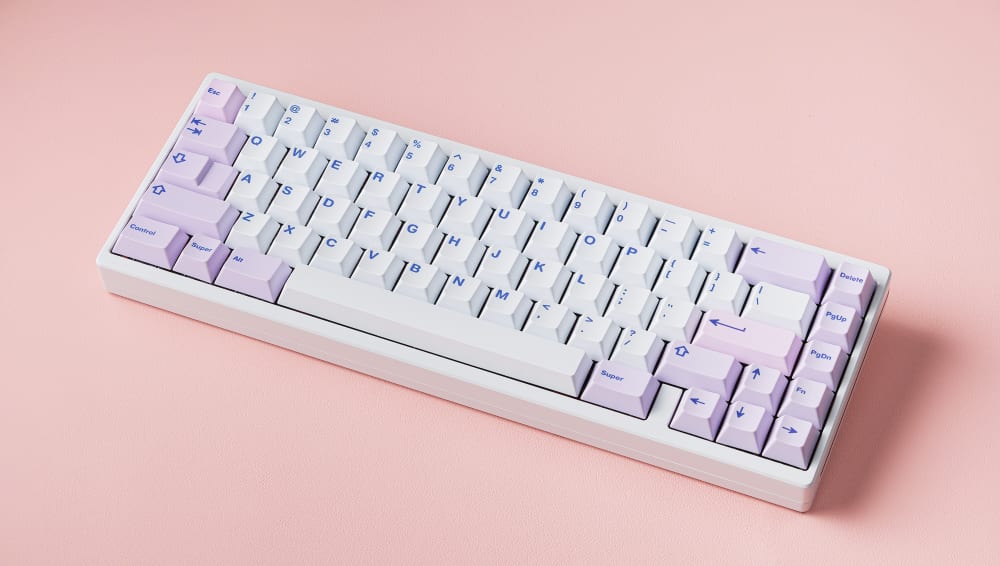
Freshly Cleaned Keyboard with Octopus Keycaps
"Do you really have to clean a mechanical keyboard?" you ask. keeb-savvy people know the answer is "yes", obviously. Yet many who spend the most time online are among the most guilty of neglecting to do a deep cleaning - to delve beneath the surface of their mechanical keyboard and attack the gunk and lint that can, over time, form a solid layer of gunk that spells disaster for keyboard performance.
Wiping down the keys on a semi-regular basis is a good practice. But whether or not you're aware of it, learning how to clean under the keyboard is very important as well. It's not anyone's favorite task, but who knows what evil residue and particles of undetermined origin lurk under your mechanical keyboard if it hasn't been cleaned in some time.
Don't blow off the importance of cleaning your keyboard
Some people simply put off the task. Others are too busy with working and playing online to remember the importance of doing in-depth keyboard cleaning. And then there's the question of whether cleaning under your mechanical keyboard can do more harm than good if not completed in the proper manner. It could, of course. But it won't if you follow a few simple guidelines.
If you've been putting off this keyboard maintenance task or aren't certain how to proceed, I'll help get you motivated by walking you through a simple, effective way of attacking the dust, grime, crumbs, germs, and unidentified alien particles that hide beneath the keys you touch every day.
If you're wondering if your keyboard's dirt is affecting performance, a post in Digital Trends says:
Jamming keys are a primary sign that your keyboard is dirty and needs to be cleaned. There are many levels of cleaning: Some users like to spray in jets of compressed air and hope for the best. We're not big fans of that option, because it can drive crumbs even deeper into the keyboard than before, and we prefer to use a vacuum brush accessory to suck debris out entirely. But for serious jamming issues, the best solution is to take off the keys and do a thorough cleaning...
Swiping the surface is great routine maintenance—but it's just a start
If you regularly wipe down the surface of the keys, you're on the right track. Many mechanical computer keyboard users don't even do that. But think of the times you've snacked while gaming. How many food particles slipped through the cracks? Even if you're careful to keep food and debris at a safe distance from the keyboard, particles like dust, grease from cooking, and pet hair often waft their way into the chamber below the keyboard's surface and congeal into a mess.
If you can't recall the last time you faced the unknown, pulled the keycaps off, soaked them, washed them, and thoroughly cleaned every component, it's time to disassemble your mechanical keyboard and give it the deep cleaning it deserves. We'll help you assemble your tools and get on with the process.
How to deep clean your mechanical keyboard without stress
So you've decided to do it. You've set aside the time. What's the best way to clean your mechanical keyboard safely? The key, we feel, is simplicity. So many who shell out advice make the process seem overly complex. Here, we touch on the key points, for cleaning your mechanical keyboard thoroughly and safety without all the fluff.
Step 1: Gather the tools for the task
When beginning any task, the first step is to assemble all the tools you will need to complete the procedure. You don't want to get started and find you have to make a run for an essential cleaning tool. To clean a mechanical keyboard, you will need:
- A tool to pry off the key caps, like a flathead screwdriver or an actual keycap remover.
- A microfiber cloth for wiping down the board's surface and cleaning keycaps.
- A pair of tweezers for pulling loose debris from tight spaces.
- Q tips -or another type of cotton swab on a stick.
- A gentle cleaner - dish soap works well - for soaking and cleaning the keycaps.
- A surface cleaning liquid - a 70% isopropyl alcohol solution works great.
- A vacuum cleaner - with a small, narrow attachment.
Step 2: Pop off the keycaps
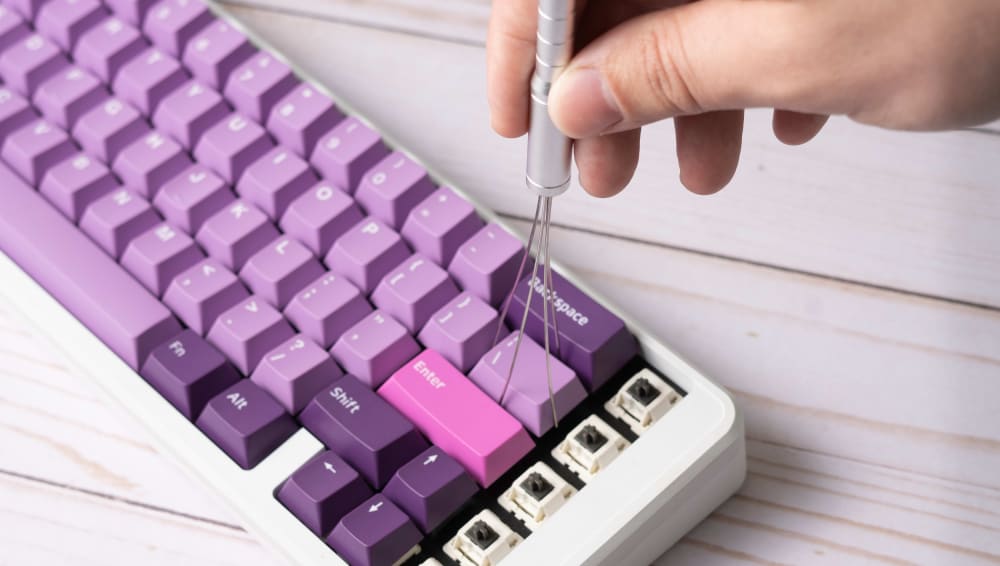
Keycap Puller
When removing the keycaps from your mechanical keyboard, it's best to begin by removing the space bar: once it's off the board, it will be much easier to remove the other keys. Sometimes the space bar won't pull up like the individual keys. in some cases, space bars are hooked to a long metal bar called a stabilizer - to ensure that the larger key button presses down evenly no matter where you touch it.
If you're using a keycap puller, removing the keycaps, even a space bar with a stabilizer, should be a swift, smooth process. If using a screwdriver as a prying tool, stick it under the bottom of the space bar. Slide it along gently, while levering the bar up. The keycap should detatch from the switch below it, making a subtle popping sound. You might have to gently lift the space bar a bit then pull it to the left or right to slip it off the hooks.
Some additional keys, like the:
- Enter
- Shift
- Backspace
- 0/Ins
- And the big '+'
could, in some keyboards, be attached in the same manner as the space bar. They may be removed via the identical technique as that described for the space bar..
For the regular keys: try to lever them from the underside by inserting the keycap remover or screwdriver underneath each key. Some may detatch easier than others. Toss the keys into the container in which you plan to soak and wash them.
You might find it easier to remove keys bordering the mechanical keyboard chassis, for example, the arrow keys, with tweezers, or a similar, slimmer tool.
Step 3: Suck it up (with a vacuum)
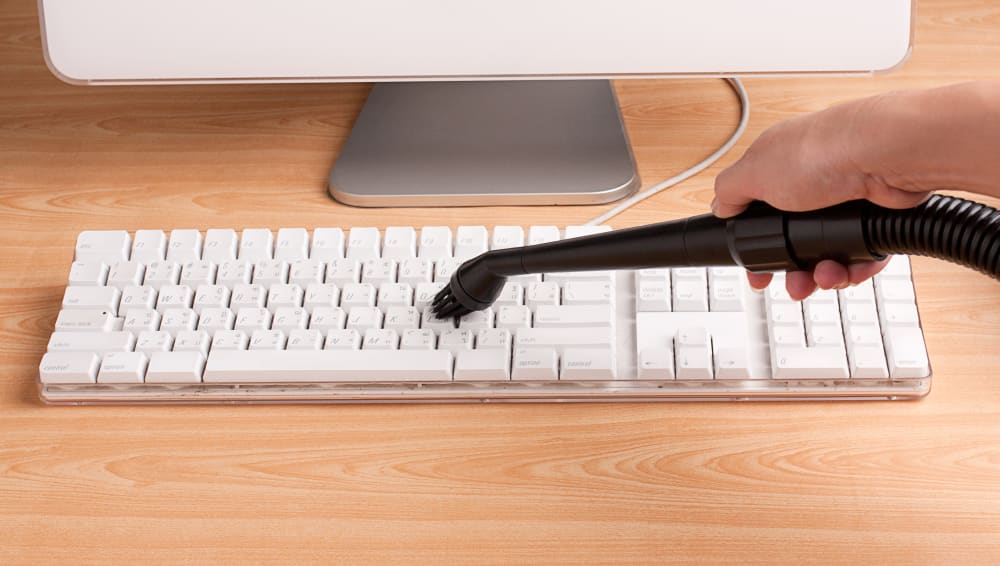
Vacuuming Your Keyboard
Use the thinnest vacuum attachment you have, or a vacuum made especially for keyboard cleaning.
Before vacuuming, remove as much loose debris as possible from the channels with tweezers. The vacuum can't pull out embedded fur or debris that's gotten stuck to a surface. But using tweezers to remove what you can first, makes the vacuuming job a breeze.
Run the vacuum along the keyboard. If your key switches have glass sensors, steer clear of them to prevent damage. Be as thorough, yet careful as you can. Avoid the switches, but focus on the space between the keys.
You may have to tweeze - vacuum - tweeze - repeat, if it's been months or years since your computer's last deep cleaning.
Step 4: Wash the keys well
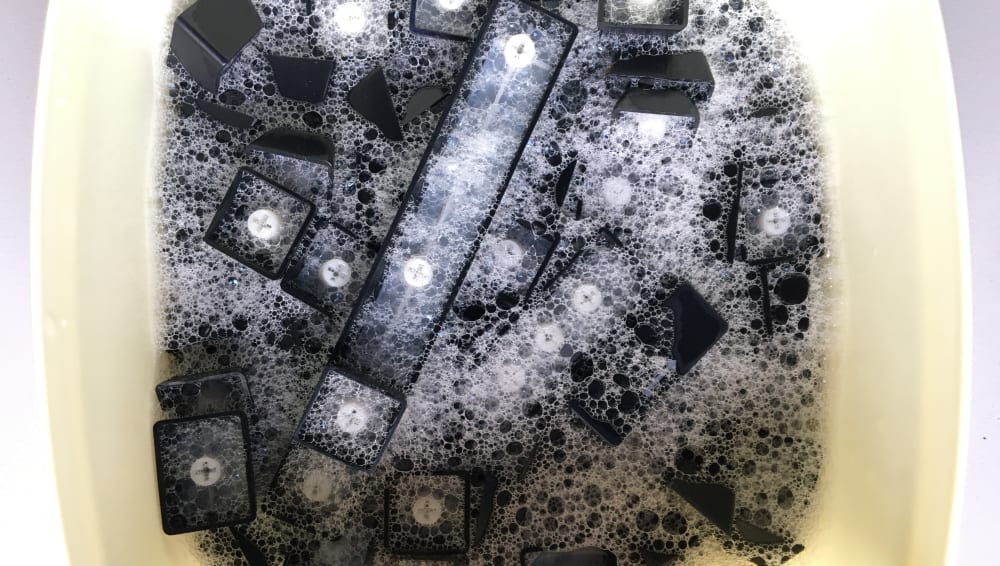
Washing Keycaps
Fill the container of key caps with hot water, with a squirt of mild - perhaps dish soap added. Soak them for several hours. Rinse the caps. Wipe off any residue with a microfiber cloth.
Dry the caps on a towel. Lay them face up until the water drains from them, then turn them upsde down. Let them dry for a day, or overnight. It's essential that the underside of each keycap is completely dry, to ensure proper function when contact is made with with sensitive components.
Step 5: Clean the board with cotton swabs
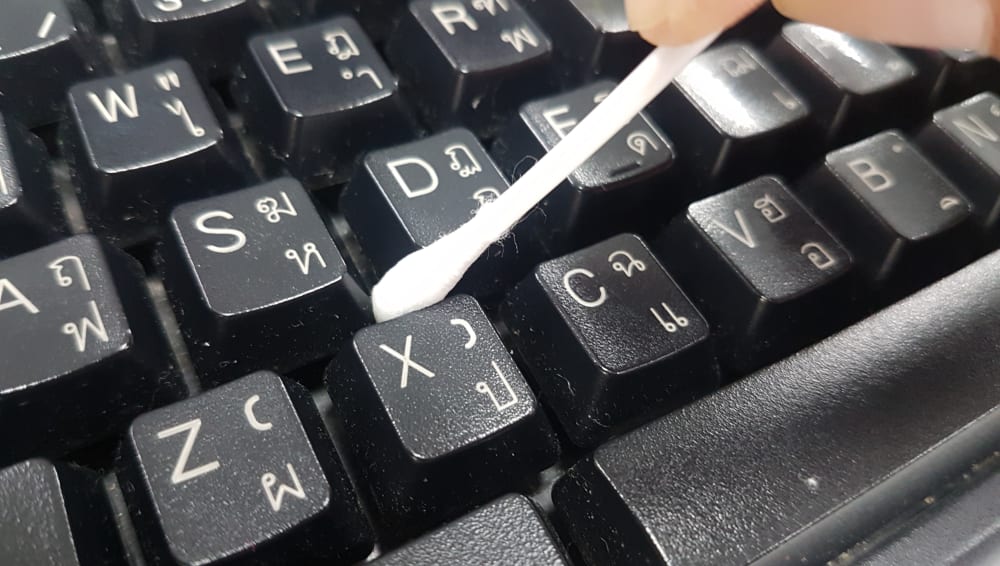
Cotton Swab to Keyboard
Use a cotton swab soaked in isopropyl alcohol to clean the keyboard, focusing on the space between the keycaps. Alcohol removes sticky debris and bacteria and evaporates almost instantly.
Be careful not to leave cotton swab fibers in the key switches. Change swabs frequently. Your focus should be on the dirty surface between where the keys sit, not on the site of the keys, where your touch could interfere with the switches.
Step 6 (final step): Reattach the keycaps
Freshly Cleaned Board with Hippo Keycaps
Once all the keycaps are dry, reassemble the keyboard. Reattaching the keys should be easier than removing them.
First, put the keys requiring stabilisers on the keyboard. That makes it easier to reattach the other keys. You can hook one side of the key to the stabilizer first, then attach the hook on the opposite side. Once the large keys are back on, pop each keycap into place.
Get back to work—or play
Now that the space under your keyboard is clear, you're ready to attack that challenging work project or to indulge in a killer evening of gaming. Regular cleaning of your mechanical keyboard could be compared to regular vehicle maintenance. It takes a bit of time to schedule and complete, but lessens the risk of a breakdown.
Bonus: Preventive Cleaning
Clean your mechanical keyboard regularly to prevent dirt, food debris, dust, and pet hair from accumulating between keys and keycaps. You should do this weekly or whenever you see dirt building up. The three-step procedure below will guide you. The procedure is simple because you will clean the keyboard without taking it apart.
Step 1: Unplug your keyboard and hold it upside down. Then, tap it gently to remove loose food particles or dirt between the keys.
Step 2: Gently vacuum the keyboard's top using a dusting brush to remove the remaining particles. Alternatively, use a bottle of compressed air to blow dust between keys and from the surface of the keyboard. Hold the keyboard at an angle to avoid blowing dust into the switches.
Step 3: Lightly moisten a lint-free cloth with water and mild soap. Then, gently wipe the keyboard's surface and keys, being keen not to drip water into the keyboard. Ensure the keyboard is dry before plugging it back into your computer.
Preventive cleaning won't be enough if ingrained dirt has accumulated on and inside your keyboard. That brings us to the second part: how to deep clean your mechanical keyboard.
Now in the next few sections are some of the most frequently asked questions I've seen pertaining to cleaning mechanical keyboards.
How often should you clean your mechanical keyboard?
For a quick wipe down with cloth and liquid, cleaning once or twice a week will prevent dirt build up on the keycaps and between the switches. For a deep clean, some factors will determine how often you clean your keyboard:
- The frequency of using the mechanical keyboard: If you use it daily for hours and eat on your desk, you may need to clean it more than someone who spends less time on their keyboard. The more you use it, the faster the dirt particles build up.
- The amount of free time you have: Deep-cleaning a keyboard can be a long process for busy people. So how frequently you remove and wash the keycaps and wipe the keyboard deck depends on whether or not you have enough time to do so.
Generally, a deep clean every 4 to 6 weeks is recommended to ensure your keyboard stands the test of time.
How do you clean a sticky mechanical keyboard?
Use a damp cloth to clean a sticky mechanical keyboard. You can use a cleaning agent together with the damp cloth for the best results. However, avoid cleaning detergents with acid or bleach. After all, you don't want to decolorize the keycaps of your keyboard.
You can also use a clean sponge on a sticky keyboard but not a paper towel. A paper towel will leave paper particles under and between the keycaps.
Can you clean a mechanical keyboard with water?
You can clean specific parts of your mechanical keyboard with water but not every component. For example, you can wash the keycaps with water and wipe the keyboard's exterior with a damp cloth to remove grime and sticky residue.
On the other hand, never clean exposed electrical parts with water as you risk short-circuiting the keyboard. If you use water to clean your keyboard, always ensure every part is completely dry before plugging it into your computer.
Can you clean keyboard switches with alcohol?
You can clean keyboard switches with alcohol by dipping a cotton swab and gently scrubbing the switch components. But as mentioned earlier, the rule of the thumb is that every component should be dry to avoid damaging your keyboard.
A better alternative is using a paintbrush to clean your mechanical keyboard switches. Just remove the keycaps with the procedure described above and brush off the particles around the switches.
Ready for an upgrade for your mechanical keyboard? Kinetic Labs specializes in mechanical keyboard parts and accessories. Check out our keycaps, switches, and other components. Have questions? Contact us any time!