ThereminGoat
Nov 5, 2023
•5 minutes
3 Tiers to Keyboard Switch Modding
Interested in modding your switches? In this short blog post, we find out what's possible when modifying switches in three easy tiers that you can learn today!
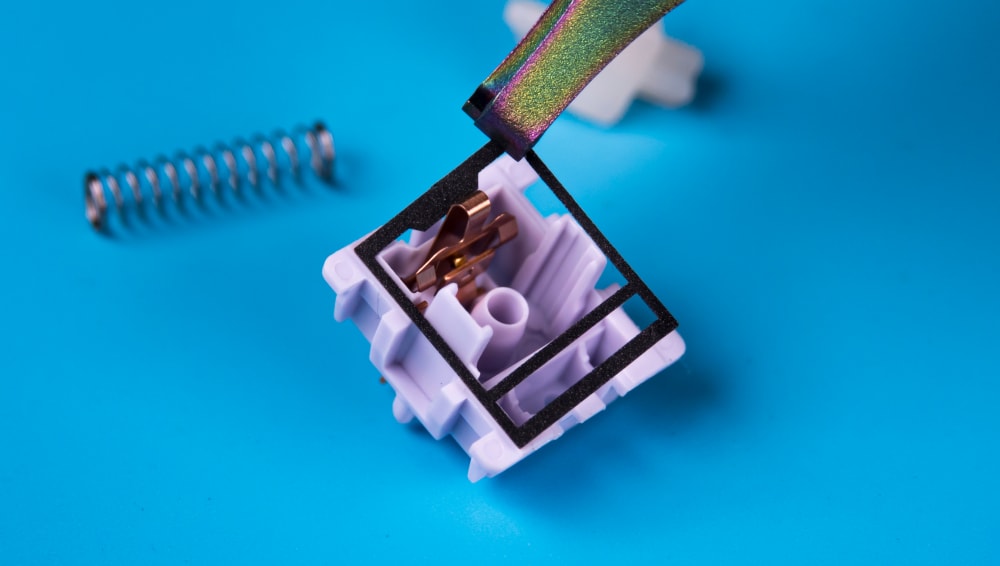
Titanium Switch Puller Modding Hippo Linear Switch
We’ve all been there before: you finally got those keyboard switches in the mail that you were spending days and weeks planning your purchase of, and they just aren’t quite as perfect as you had hoped for. No worries, it’s probably easy enough to modify or tweak them to your liking. After all, the entire bedrock of the mechanical keyboard hobby was built upon that pioneering, DIY spirit so surely someone knows exactly how to tweak a switch around whatever little issue you have.
However, unlike those original days of modifying mechanical keyboards, things have gotten a lot more advanced – and that’s not even counting all of the options in switches, boards, and more that weren’t even dreamed of back then. As if deciding which of the hundreds or thousands of switches out there to buy wasn’t already hard enough, you’ve got to decide on modifying your switches, too. Need a place to start? Let’s look at the three broad tiers of switch modifications to help you make your decision!
Tier 1: The Basics
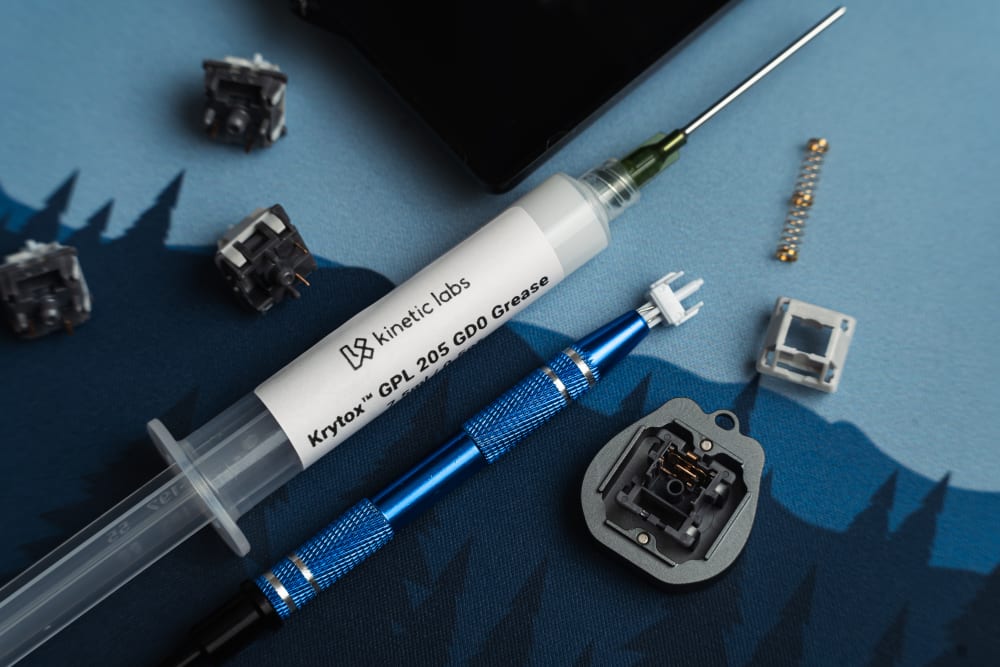
Krytox 205g0 with Husky Linear Switches
In this day and age, virtually every person who has even accidentally glanced into this hobby has heard of the process of ‘lubing and filming switches’. However, since many newer folks may have only come across this through streams of the many content creators who rely on these simple modifications as the bulk of their content, they may not know what these modifications practically do. These two simple acts are modifications to switches which you can do to virtually any switch out there in order to make an immediate change in the smoothness of their push feeling and/or change the overall tone of their sound.
“Lubing” is the act of applying aftermarket silicone or oil-based lubricants to interior portions of a switch in order to reduce friction between moving plastic parts inside of the switch when they are pressed. Almost all modern mechanical keyboard switches will benefit from this practice, as a light coating of lube brushed onto all sides of the stems, or delicately into the bottom housings where the stems touch them can cause a switch to no longer feel scratchy and glide effortlessly instead.
Filming, on the other hand, is the act of applying a thin, rectangular piece of silicone or paper around the upper edge of the bottom housing where it contacts the top housing when it is closed. Originally designed to help fill the gap between housings which were designed with some poor tolerances, most switches are designed so well nowadays that this isn’t needed. Instead, adding this layer of insulating silicone, plastic, or paper will alter the sound of your switches, causing sound waves to vibrate differently through them when typing. (How the sound will change, though, is entirely up for you to experiment and figure out!)
Tier 2: Getting Fancy With It
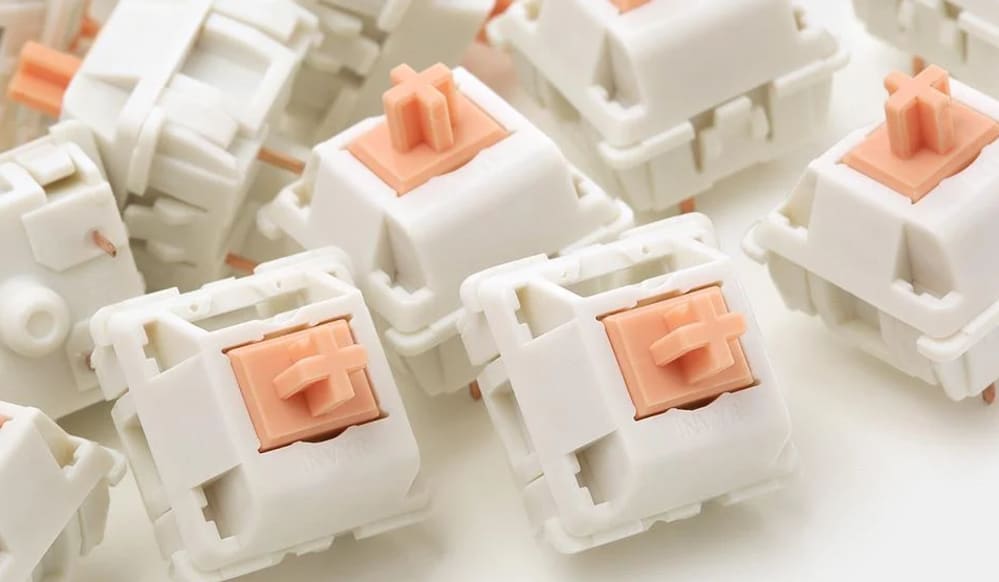
: Invyr 'Holy Pandas', arguably the most iconic frankenswitch of all time.
If you’re already well familiar with ‘The Basics’ in Tier 1, chances are that you’ve already considered replacing or swapping some of the components of the switches which you’ve picked up. If you’ve got a little bit more of a budget to spend on switch parts, you may consider picking up some loose aftermarket switch springs to swap with the existing ones in your switches. Assuming you’ve not forgotten to buy a switch opener, spring swapping is the easiest ‘Getting Fancy With It’ modification you can make, and can allow you to make your switches heavier, lighter, or tuned just to the strength of your fingers. In fact, modifying the weights of tactile switches not only changes how heavy they feel when you are typing on them, but can also affect how strong or big a tactile bump feels as well! If that isn’t fancy enough for you, though, you can always consider swapping entire switch components such as stems and housings from one set of switches to another.
Known as “frankenswitching”, this practice acts effectively the same as the spring swapping concept that kicked off this tier of modding, but relies on using bits and pieces from other stock switches rather than something strictly bought in an aftermarket fashion. As you could probably guess, the sky is the limit with this process and you can change nearly any base switch you have well beyond your imagination just with simple part swaps between other existing switches. To think, though, that even those endless possibilities created by frankenswitching just don’t quite touch on the craziest modifications that I’ve ever seen.
Tier 3: Deep Down the Rabbit Hole
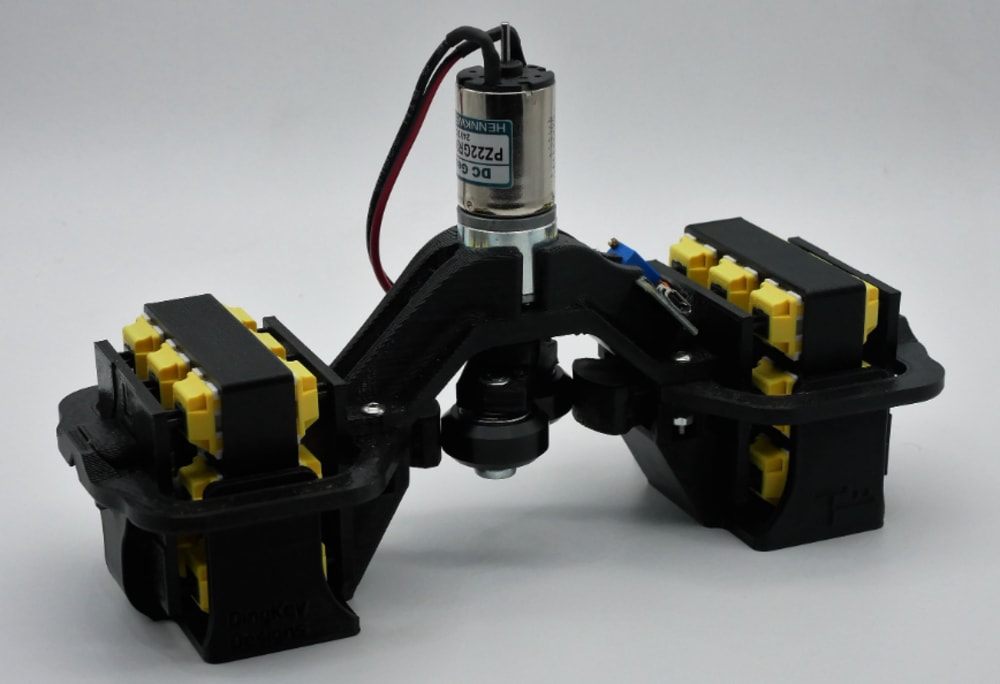
One of my break in machines to prove I am actually about that life...
While everyone loves stuffing their keyboards full of foam and finding a perfectly colored and themed artisan keycap to go with their endgame board, few dare to explore deep into this mad scientist tier of switch modifications. At this point, basic frankenswitching and meek aftermarket modifications simply aren’t enough and serious creativity, time, and potential investment is required to push switches well beyond what they were originally designed for. The most common, consumerist grade version of this comes in the form of ‘break in machines’, or machines specifically designed to press switches hundreds or thousands of times per minute to simulate years upon years of gaming or book reports.
While breaking in switches over a short period of time really doesn’t do much to them in the grand scheme of things, as you can read about over in my ‘How Long Do Keyboard Switches Actually Last?’ article, though some modders will break in their switches for well over one million presses before applying lube or putting them into a keyboard. Some people have even added diamond-grit polishing paste to further quicken the friction burning process of switch break in too! But this tier doesn’t stop there, either. Less consumer friendly, more creative means of modifying switches have included, but aren’t limited to:
- Physically snipping the center poles or rails of stems to modify how they move when pressed into a switch.
- Adding small metallic ball bearings into the bottom of bottom housings to shorten the travel distance to bottom out in some switches.
- Drilling holes into switches to either widen their tolerances and/or provide acoustic modifying holes
- Physically dyeing lightly colored switches with plastic dyes to provide a unique, unlike any other color.
Surely if this tier interests you enough, then you’ll find something else that would be worth adding to this list…
However far you do take the process of modifying your switches, though, do keep in mind that switch modifications first and foremost should be about maximizing your enjoyment of your switches. While it’s easy to get caught up in the nuance and interesting techniques at the deeper end of the rabbit hole, it’s very likely that it may not even be necessary for what you need or want in your build. Sometimes, a simple aftermarket lube application is all it takes to take your switches from ‘great’ to ‘absolutely perfect’. But in the meantime, I hope you find some switches that will get you on the right path to your dream keyboard, or maybe some that nudge you down the deeply interesting world of switch modifications…